Installation on Web Server
1. On the machine you have selected as the eRequest Web Server, run the eRequest install program
2. Click Next on the Welcome page.
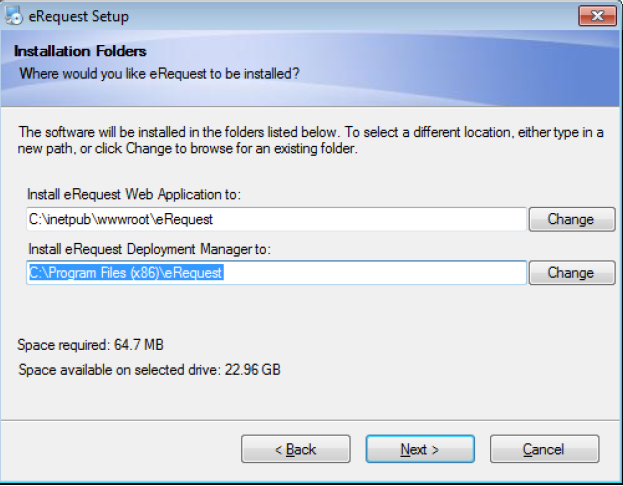
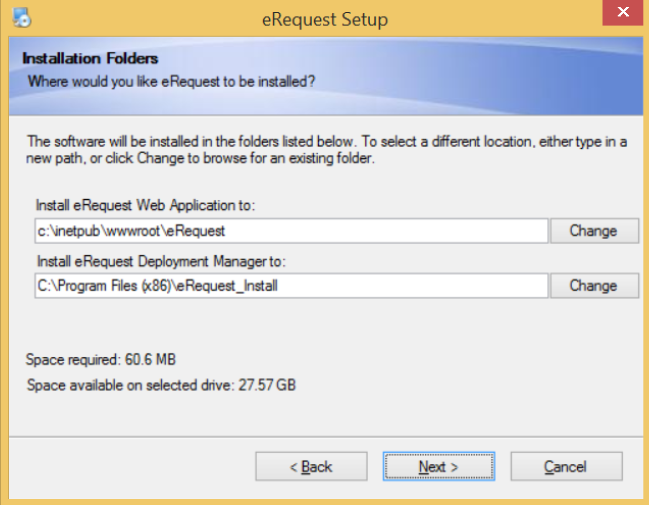
3. Ensure the installation location for each component is correct. It is recommended to install the Web Application to a subfolder within the inetpub/wwwroot folder. E.g. C:\inetpub\wwwroot\eRequest\
The Deployment Wizard is used to build the eRequest database and perform database upgrades when upgrading to a newer version of eRequest, and can be installed to the Program Files folder.
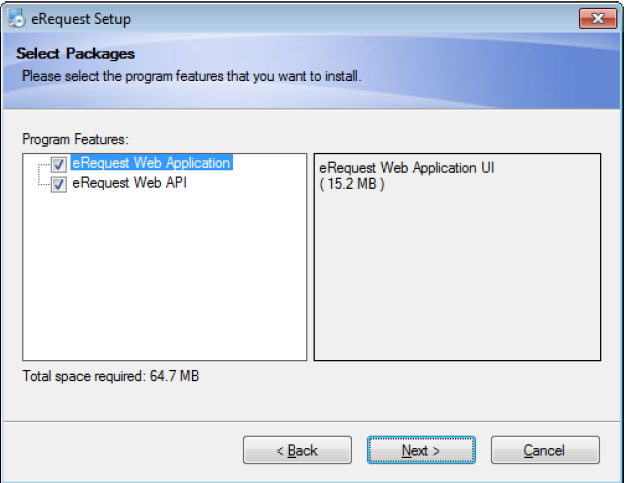
4. Select which eRequest Components you wish to install
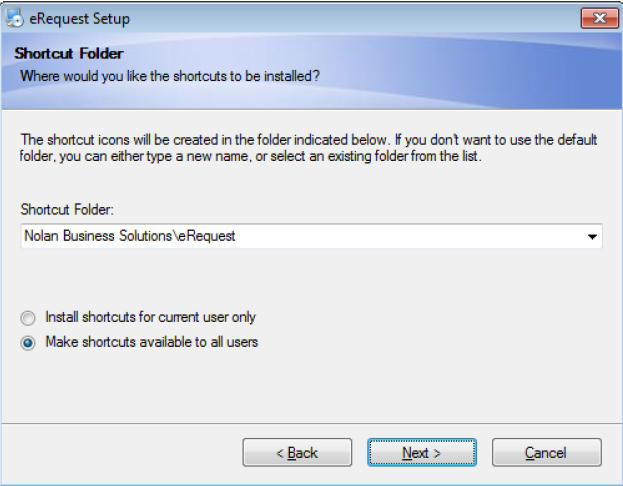
5. Select the ShortCut Folder to add the eRequest shortcuts
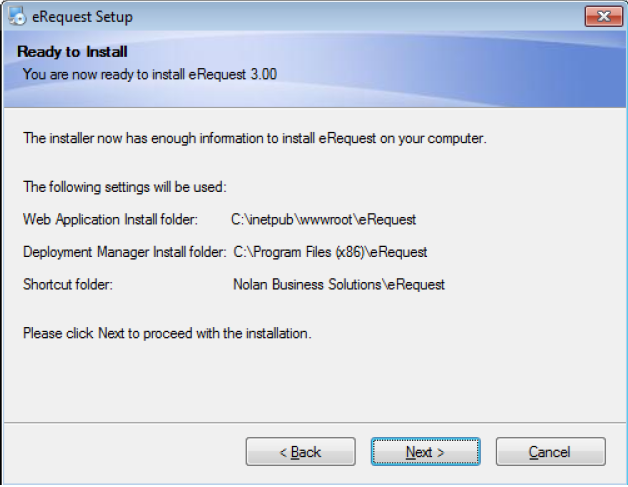
6. eRequest is now ready to copy files to your machine, click Next.
7.The eRequest files are now copied to your computer
8. Once all the files have copied, click next to run the eRequest Deployment Manager
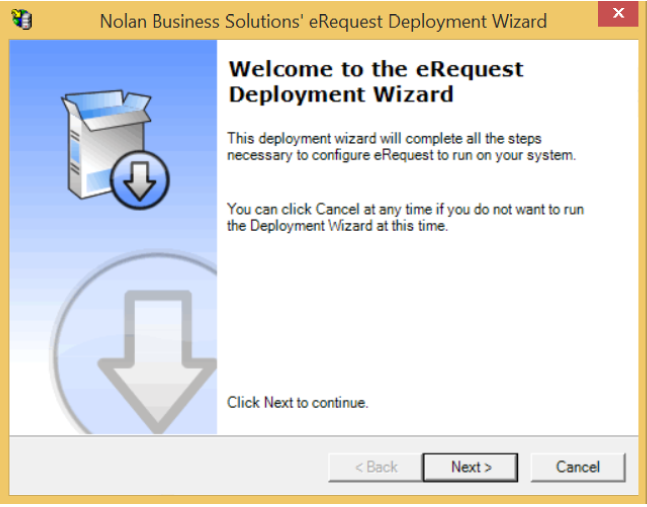
9. Click Next on the first page of the wizard.
10. If the eRequest Web Application Location presented is not the one you have just installed to, select the correct folder.
11. If an IIS Virtual Folder hasn’t been created then your will be prompted to enter a name for the folder.
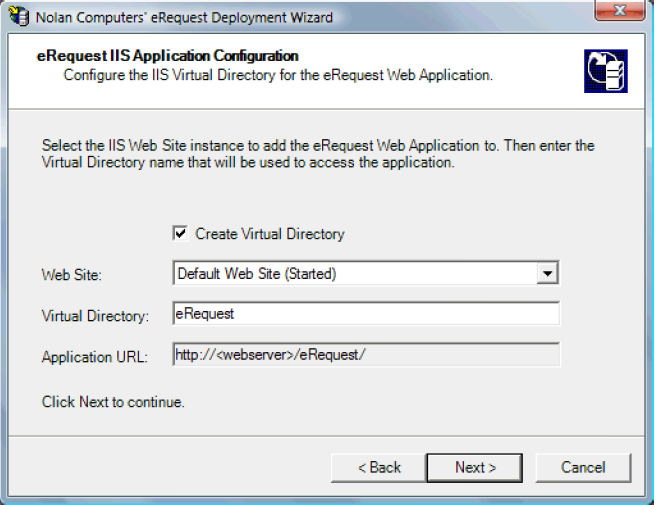
Select which IIS Web Site eRequest will be accessible from, and change the Virtual Directory name if
required.
N.B. If you have Sharepoint or Business Portal installed on the web server, eRequest must be installed to
a different web site (although that may be on the same server). Use IIS to create a new web site which
eRequest can then be installed to.
12. The eRequest Database Maintenance page allows you to enter the SQL credentials eRequest will use to
perform database tasks on your Dynamics GP SQL server. Enter the server name, NOTE: Do not use ‘local’
enter the name of the SQL Server. The user entered here should have sufficient rights to create/update
databases and tables. (We recommend using the ‘sa’ user for this task)
We suggest eRequest is installed into its own database, eg ‘eRequest’
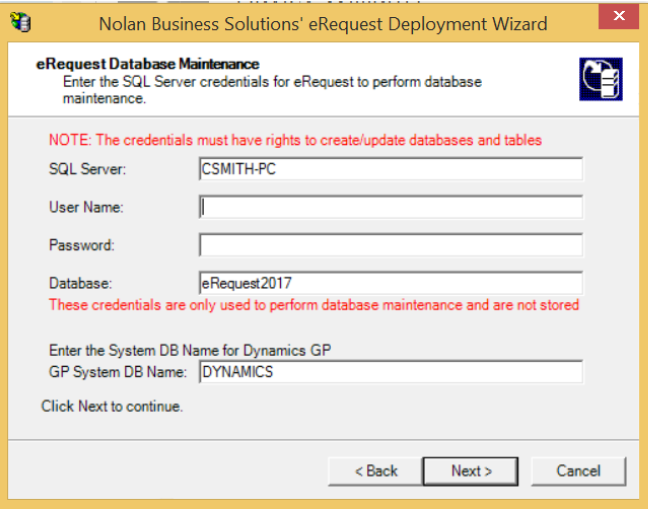
Ensure you enter the correct name for the Dynamics GP System Database, from GP 2013 you can use
names other than DYNAMICS.
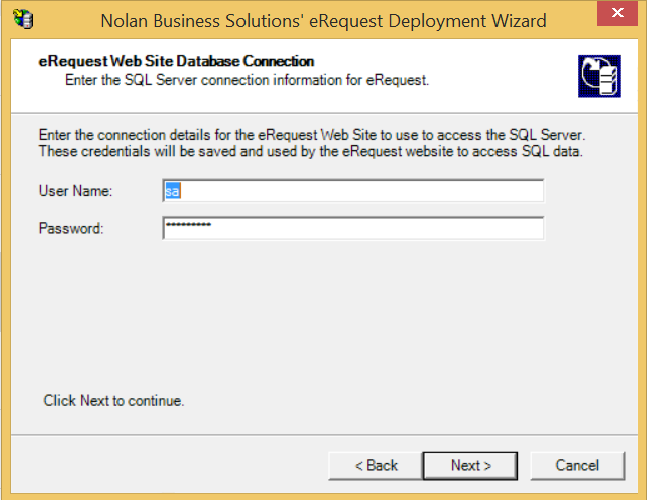
13. The eRequest Website Database Connection, allows you to enter the SQL credentials which eRequest will use when users are using the Website. The user entered should have rights to create/update/delete data in the eRequest DB and the GP DYNAMICS and company databases.
These credentials will be stored by eRequest, if the password changes for this user, you can run Deployment Manager again and change it here.
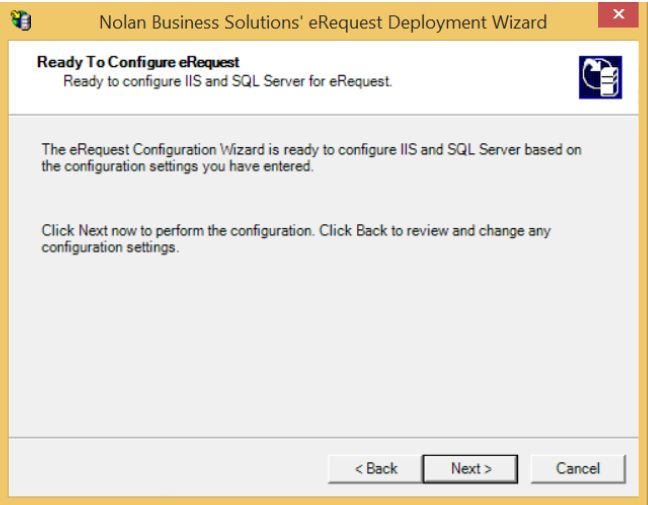
14. The Deployment Wizard will now perform the configuration steps required
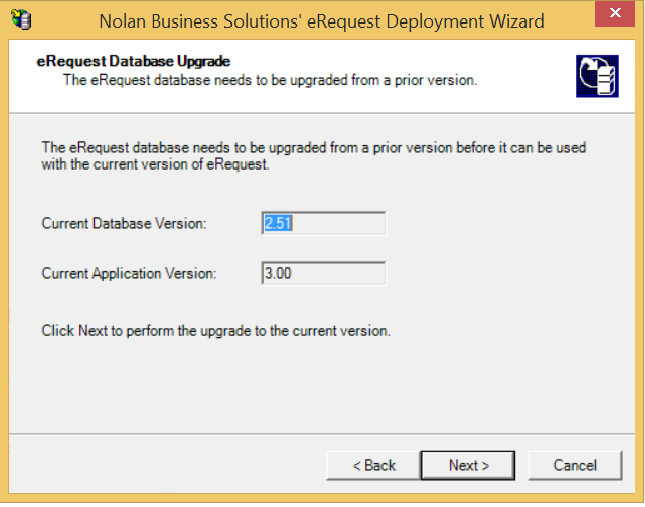
15. The eRequest Database Upgrade will allow you to upgrade an existing eRequest database, if the Deployment Manager detected the database requires an upgrade you will get this window, click next to perform the upgrade.
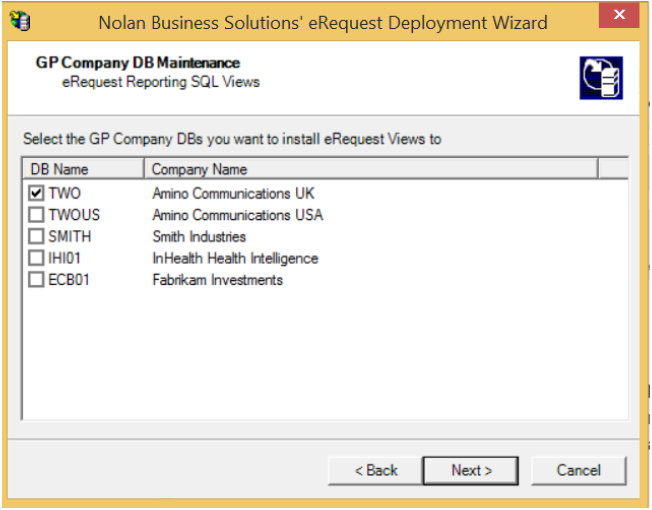
16. The GP Company DB Maintenance, allows you to select which companies the eRequest Reporting views will be loaded into. These SQL views link the GP Company data to the eRequest data and can provide the basis for Smart Lists or Reports you create.
17. Website path, enter the path to the eRequest Website which users will use to access eRequest. This path will be used when embedding links to Requests in Emails. If your server was called ‘WEBSERVER1’ and the virtual directory you entered was ‘eRequest’ on the Default Web Site, the URL would be:
http://webserver1/eRequest/
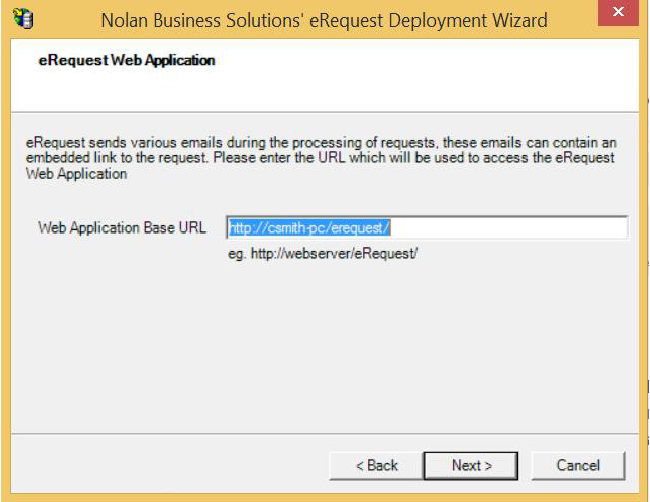
NOTE: When using ‘Azure AD’ Authentication (See below) this path is very important, since this will be used to redirect users back to eRequest after they have authentication with Azure.
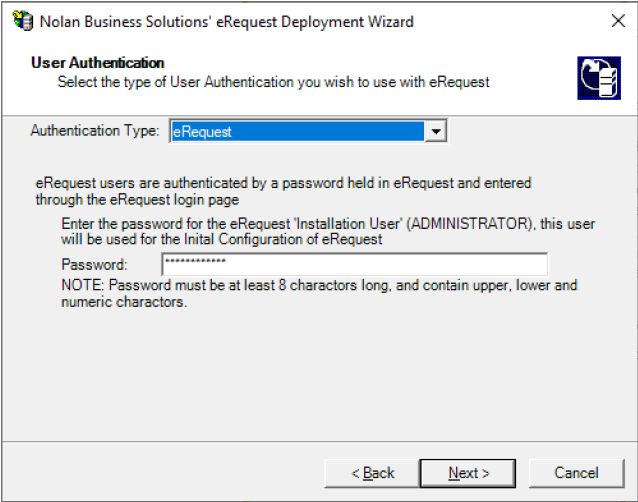
18. eRequest User Authentication, Allows you to select how eRequest Authenticates users. There are 3 options,
a. eRequest, eRequest manages the users and passwords, this is the default mode
b. Windows AD, IIS and Window are responsible for authenticating the users using the companies AD domain accounts, the browser will prompt for credentuals. In this mode the authenticated users name (The AD user name) will be mapped to eRequest Users.
c. Azure AD, Azures AD is used to authenticate the users, eRequest will redirect users to the companies Azure login, Azure AD authenticates the users and redirect back to eRequest. In this mode the authenticated user name (Usually the email address) will be mapped to the eRequest Users.
Select which Authentication Mode you required and enter the additional information to setup that mode.
NOTE: When using ‘Azure AD’ you must setup a Registered Application for eRequest on your Azure account. Refer to the Azure documentation on how to do this
A summary of the step is below
Go to the Azure Portal, and search for 'App Registrations'
Select 'New Application Registration'
Enter 'eRequest' for Application Name
Select Web App/API
Enter the URL for the Sign on URL
Create the Application
Copy the application Id from Azure and paste it into Deployment Wizard
Setup access to the application in Azure by assigning Azure AD Users to the Application
19. The eRequest Deployment Wizard is now complete
20. Installation of the eRequest Web Site is now complete.
Please note the application’s URL. If your server was called ‘WEBSERVER1’ and the virtual directory you entered was ‘eRequest’ on the Default Web Site, the URL to eRequest login page would be: http://webserver1/eRequest/eRequestLogin.aspx
NOTE: If you are installing on Windows 2003 Server or Windows 2008 Server
You will also have to grant access to the eRequest directory for which ever user the Application Pool is running as. To find out which user the Application Pool is running as, run IIS and right-click on the eRequestAppPool and select properties, and then click on the Identity Tab. The default user is Network Service. You must now grant ‘Full Control’ permissions for that user to the eRequest directory.
