Creating a New User
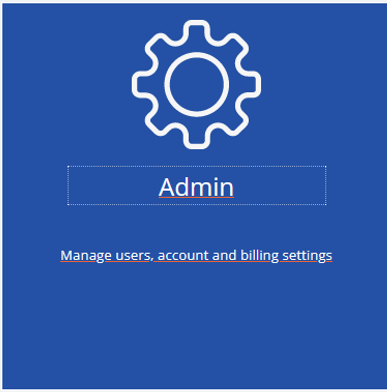
To create a New User in Nolan Cloud Services, you will need to start at the Home Page and select the Admin option.
If this doesn't take you automatically to the user page, choose Users from the menu.
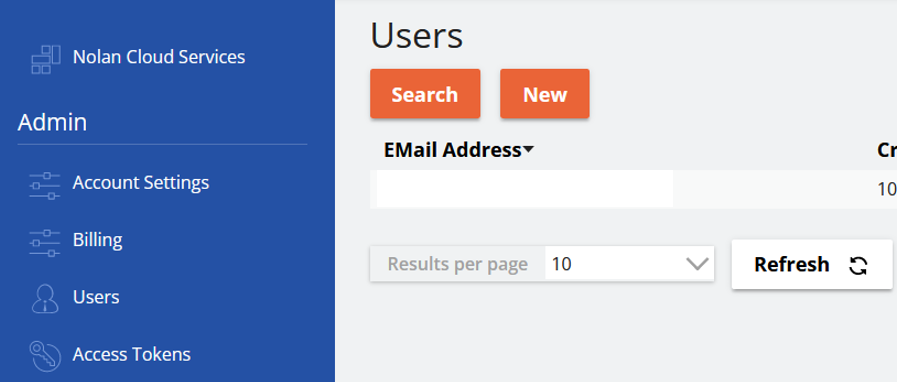
Select New and then enter user details into the required fields.
Next, you will also need to assign the User a Role. User Roles determine what aspects of NCS a User can access. It is therefore Important that Users have the correct Roles assigned.
To assign a Role to a User select between the Search or Add options.
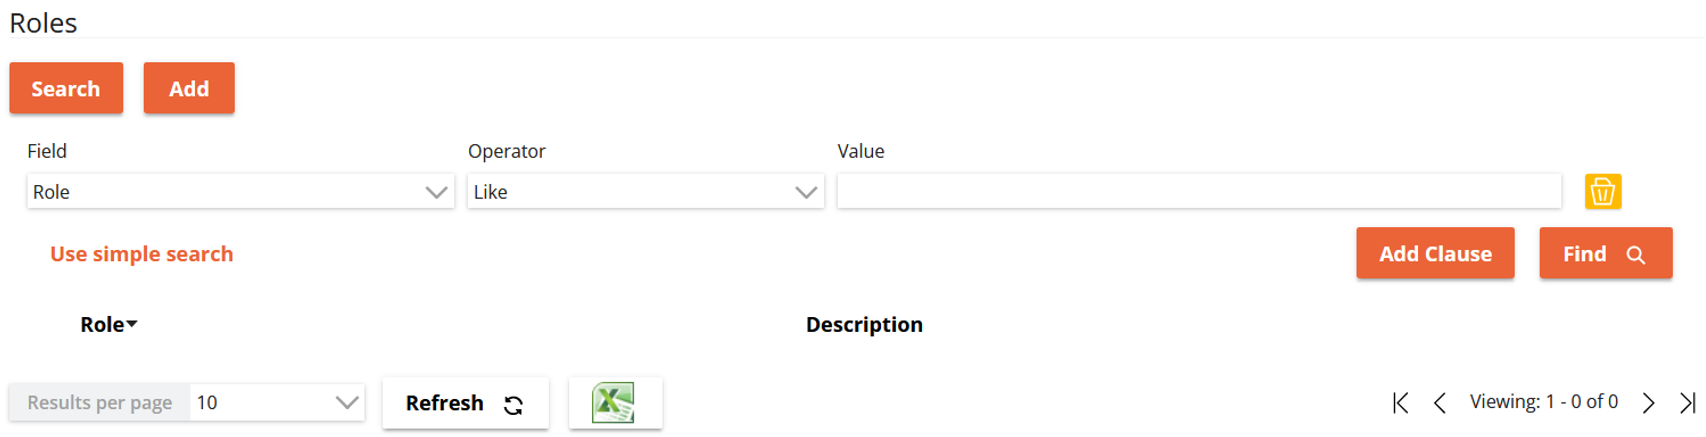
The Search option will bring up the above Fields which you can use to find a specific Role. The Roles which match your search criteria will appear in the list under Roles. From here you can select which one you wish to assign to the User.
Otherwise, selecting the Add option, will bring up a list of All existing Roles.
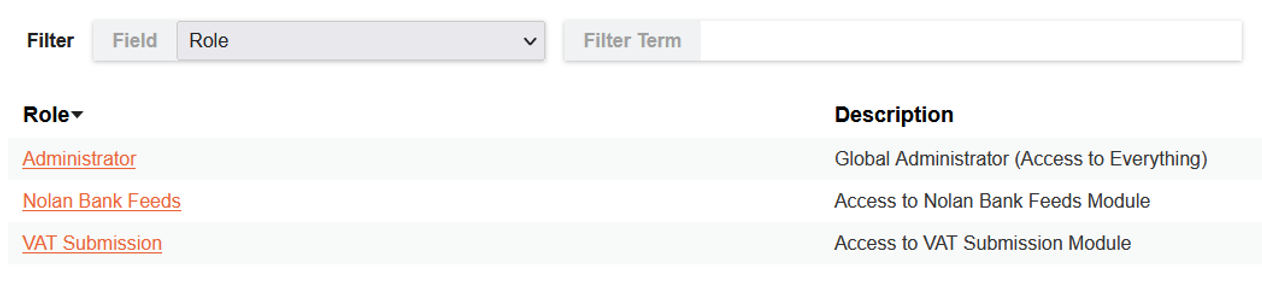
Here you can select which Role to assign to the User.
Once you have selected the relevant User Role, click Save. Your New User will now have been created.
Your Nolan Cloud Services Account – Settings, Billing, & Tokens
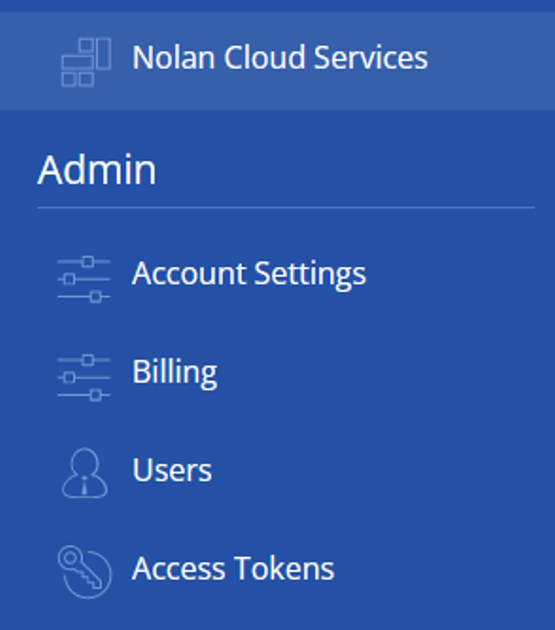
We shall now cover the other aspects of Nolan Cloud Services from the Admin side.
Selecting the Admin option on the NCS Home Page will automatically bring you to the Users page.
On the Left of the screen however, you will see some other Options.
Firstly, we will go over the Account Settings section.
Select Account Settings, you should now be faced with the screen below.
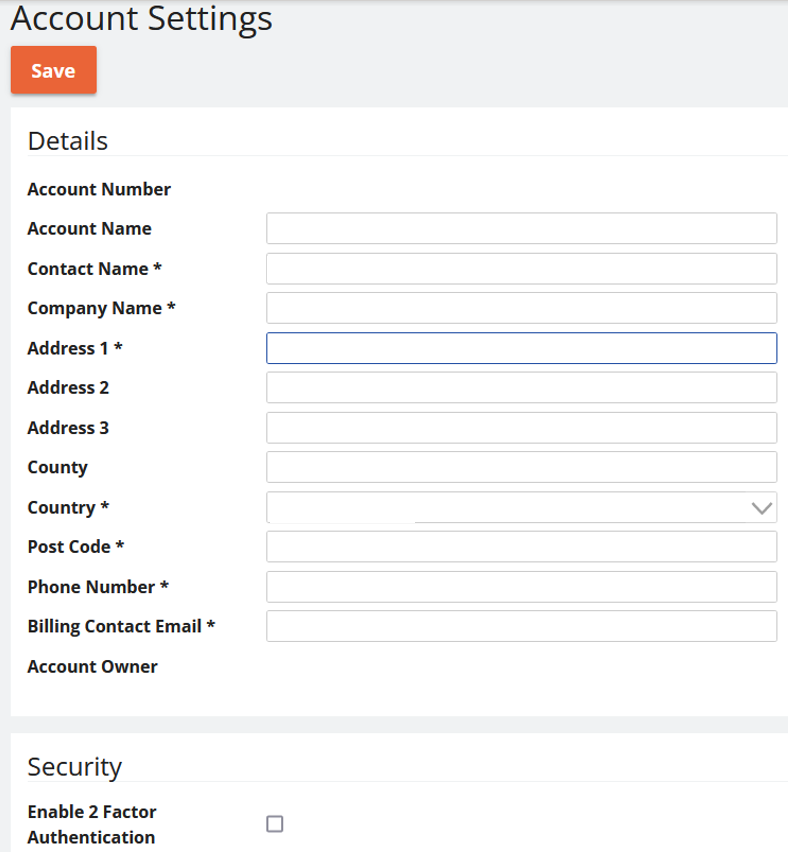
Here you can see all the details of your Current NCS Account. There is also the option to activate Two Factor Authentication for added security.
Please be aware that only users with Administrative roles will be able to access and edit this page.
Next, we will cover Billing.
Select the Billing option on the Left of the screen. You will now be faced with the screen below.
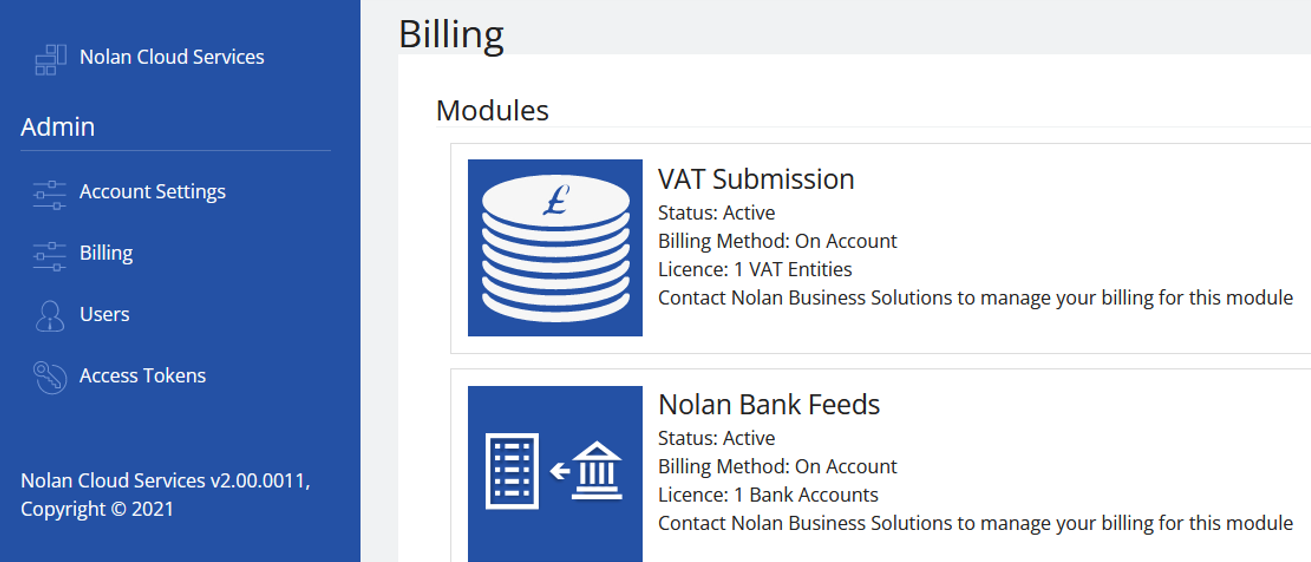
This screen details the Modules which are currently Active on your Account. As you can see for VAT Submission, this test account only has a licence for one VAT Entity. To discuss all things billing contact Nolan Business Solutions.
Finally, we will discuss Access Tokens.
Select the Access Tokens option on the Left of the screen. You will be faced with the screen below.
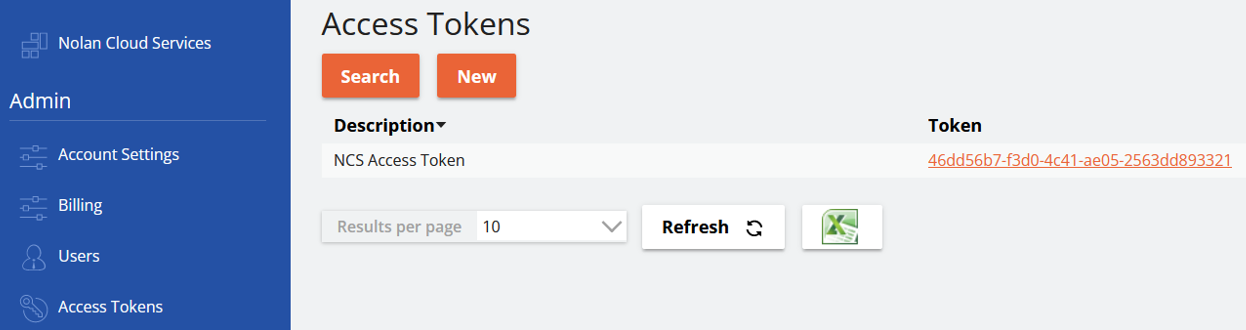
Access Tokens are a security feature. Acting much like a password, they ensure that whichever Module you are using has permission to access your Nolan Cloud Services Account.
Access Tokens are not unique to each user, but instead to each Nolan Cloud Services Account. At present there should not be a need to generate a New Token. This option is accessible however via the New button.
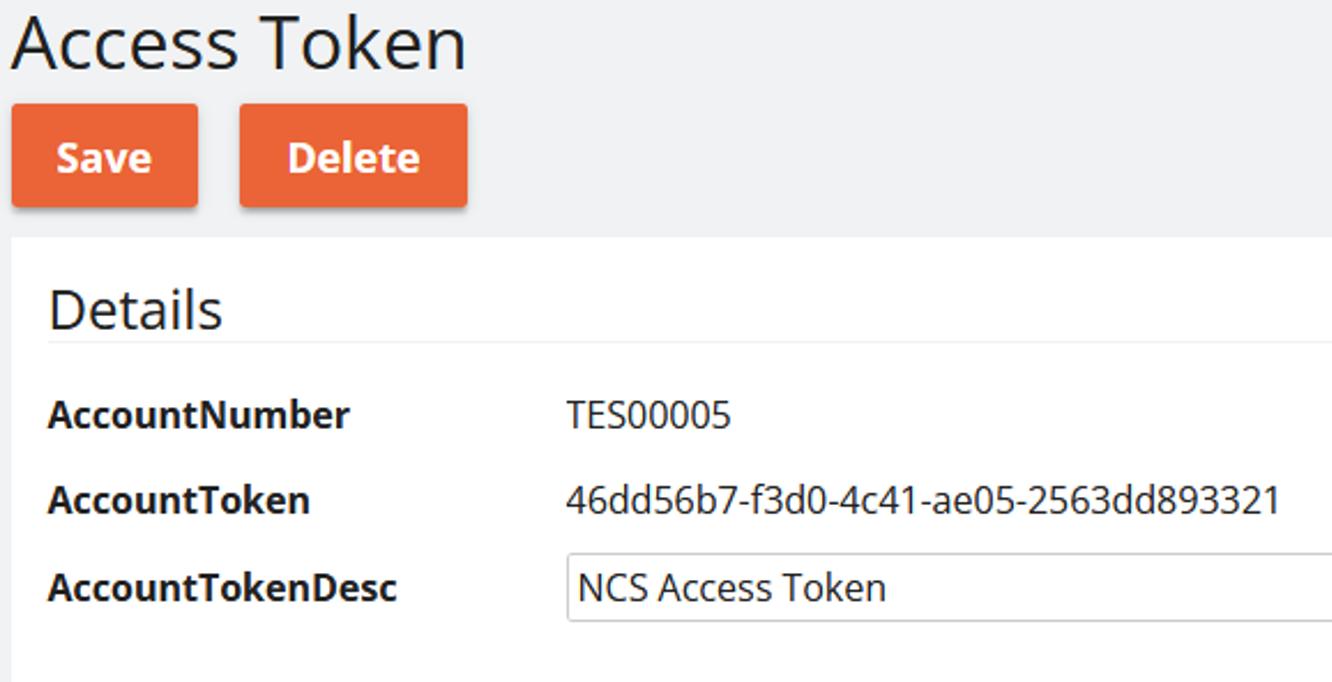
You can also view further information on your Access Token by clicking the Token itself as seen below.

This will bring up the following screen with details such as your Account Number and full Account Token.
This concludes this General Use section
