Creating your Nolan Cloud Services Account
To create your Nolan Cloud Services account simply click here and you will be presented with the option to set up your account. Click Create Account which will bring up the below.
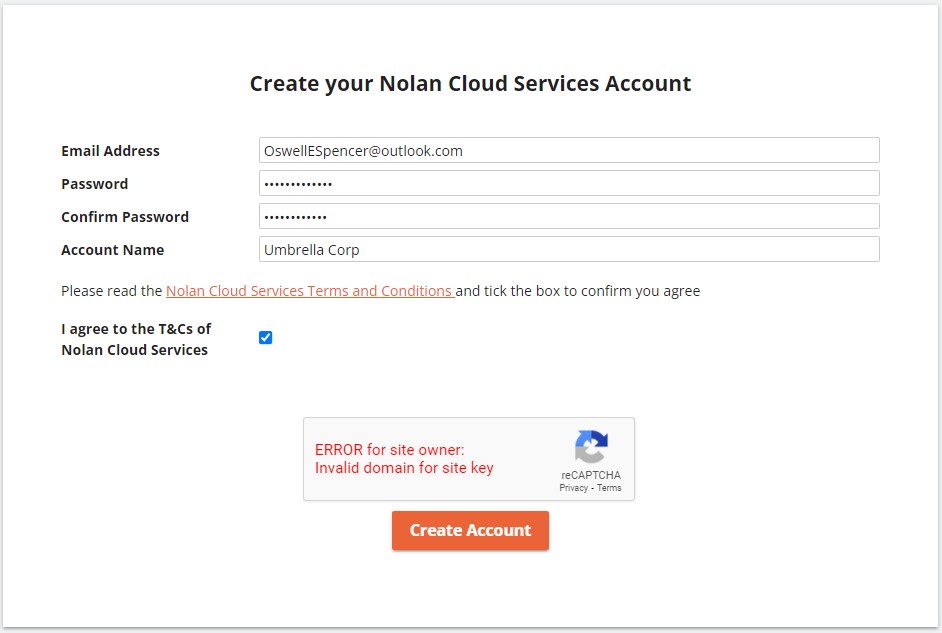
By creating an account on Nolan Cloud Services, you will begin your 30-day free trial.
Please bear in mind however, you will not be able to submit a VAT Return until your account has been Activated.
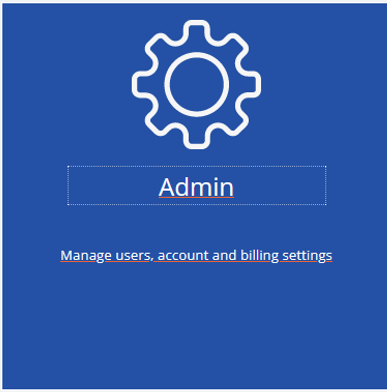
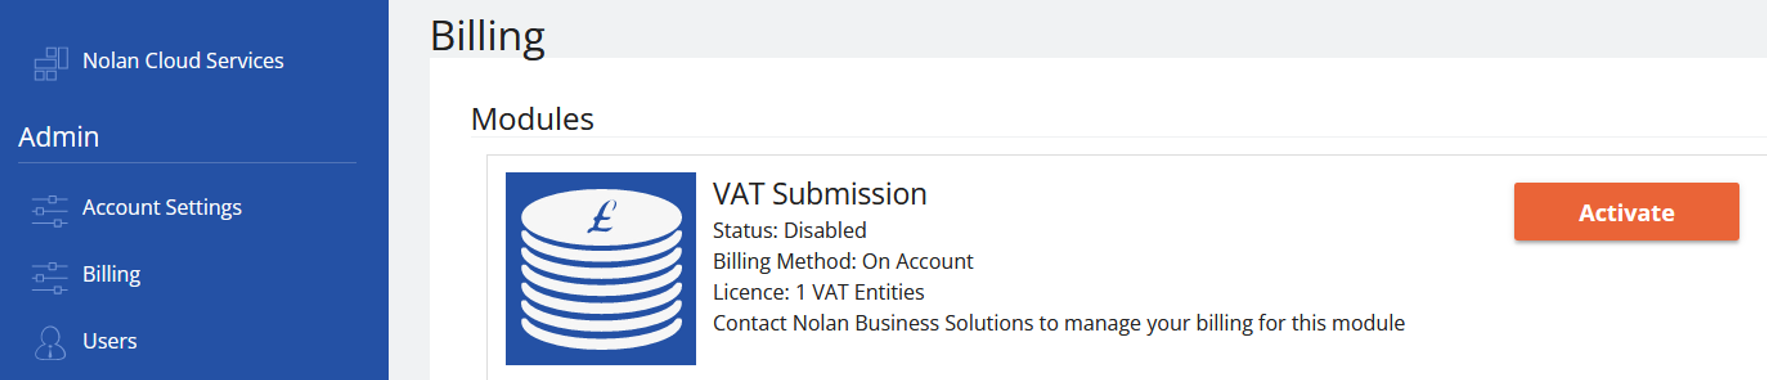
Now simply select Billing and the Activate button beside the module you wish to use as seen below.
You will now be asked to fill in your Billing details as seen below.
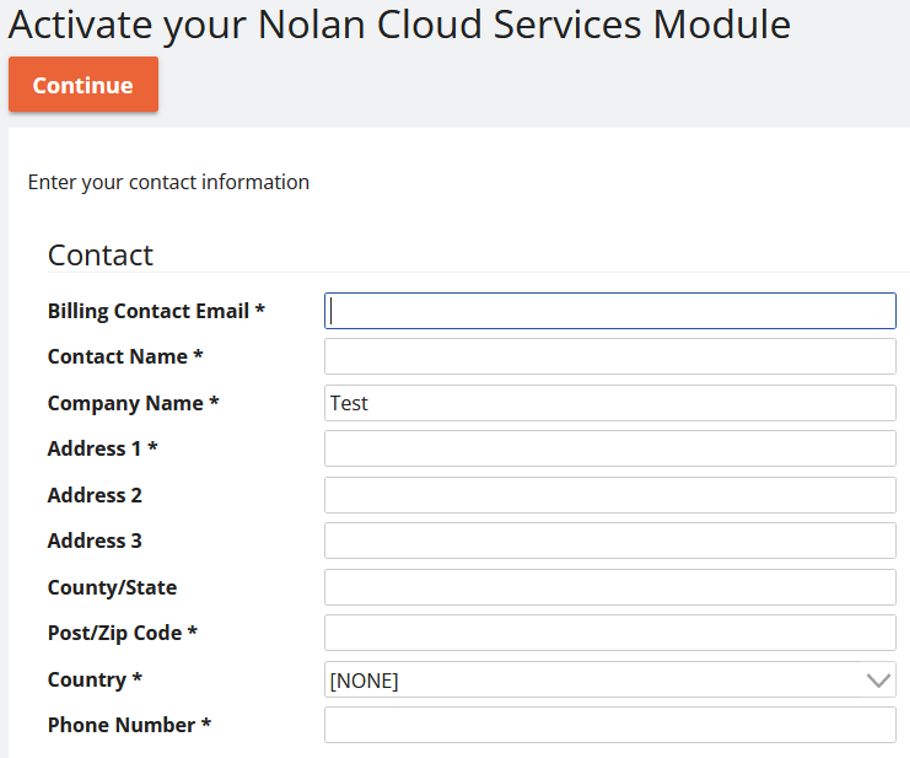
Once these fields have been filled in, select Continue.
This will bring you to the following screen where you must fill in the details of how many licences you will require. Once you have done this, select Submit Request.

Once payment has been confirmed, your account will then be Activated by a member of the Nolan Admin Team.
Now that your account has been activated, you will need to download the ERP Connector which will connect your ERP system to Nolan Cloud Services. Please see the next section for further instructions.
Downloading the ERP Connector
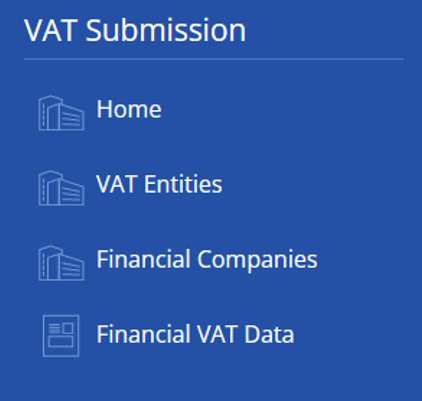
On the NCS homepage, select VAT Submission
Then click Home.
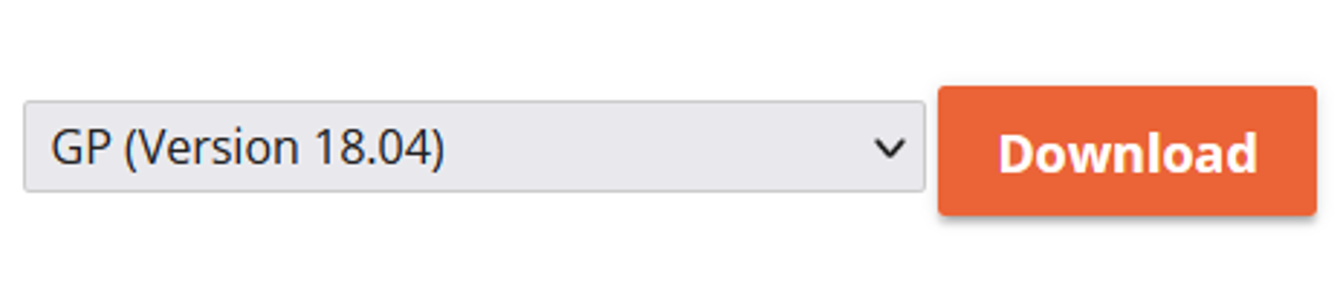
This will bring you to the install screen for the ERP Connector. You will need to download the correct version for the Connector as seen below.
Once downloaded, follow the guide below to install the Connector:
1. Run the installer and install the Connector to your Dynamics GP client directory. You will need to install the Connector on to each of your Dynamics GP Clients.
2. Once the install is complete, run Dynamics GP in Administrator Mode and log in as ‘sa’. When prompted to ‘Include new code’, click ‘Yes’ and wait for GP to start-up.
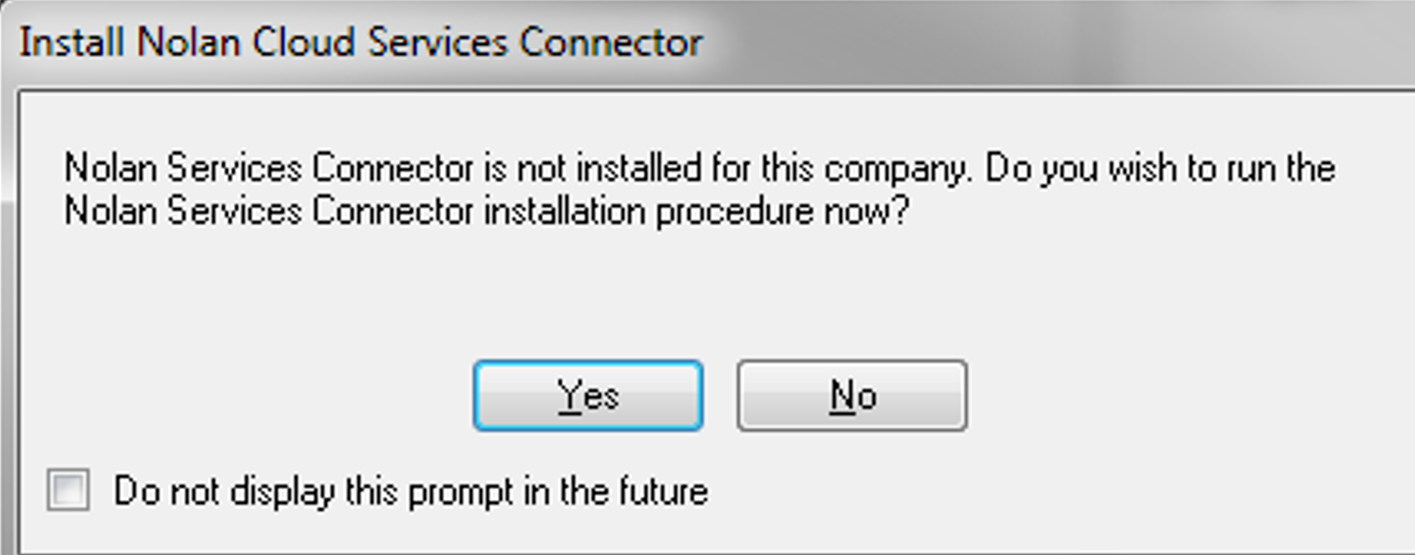
3. You will be prompted to install the Nolan Cloud Services Connector in Dynamics GP. Click 'Yes' and the Install window will open.
4. Install the Connector.
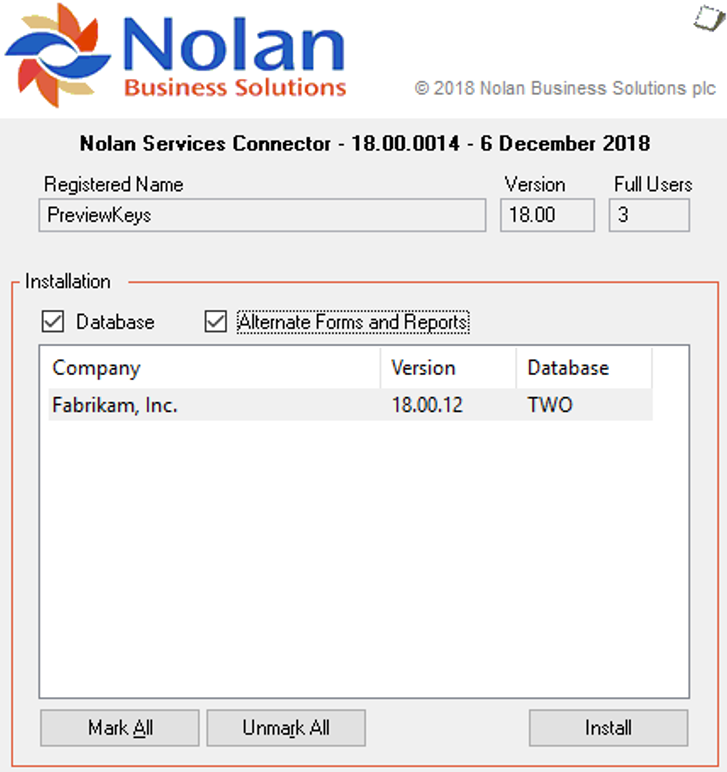
Select the Companies where you would like to install the Connector, you will only need to install it to companies which have VAT Daybook installed as these are the only ones which will submit VAT information.
Click the Install button to complete the install procedure and open the VAT Submission Wizard.
5. Connect to your Nolan Cloud Services Account.

Enter your Nolan Cloud Services Account Number and Authentication Token.
Click Next to continue.
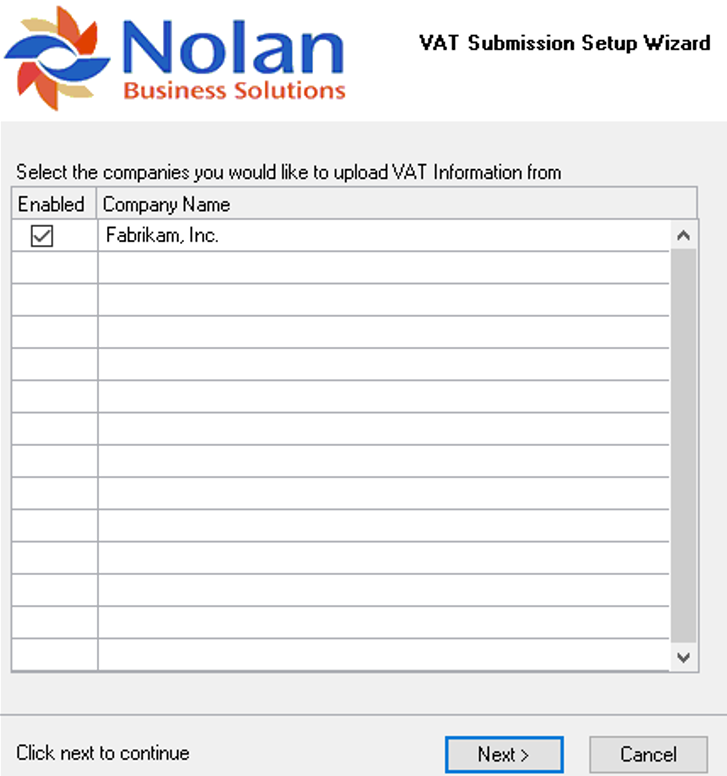
6. Select the Companies for which you intend to submit VAT information and click Next.
7. Upload your existing VAT Information.
8. Click finish to complete the VAT Submission wizard.
Now that the ERP Connector has been installed, you are ready to use Nolan Cloud Services.
Please see General Use for further administrative instructions such as creating New Users.
