Creating a Nolan Cloud Services Account
Once you have successfully installed the package following the previous installation chapter, it will need to be configured.
Locate the Nolan Bank Feeds Setup window by using the Search Option within Dynamics 365 Business Central.
Now, select the link, and click on Sign Up.
You will then be redirected to the Nolan Cloud Services page where you can create a new account as seen below.
Please make sure to use your own details when filling in the fields and selecting Create Account.
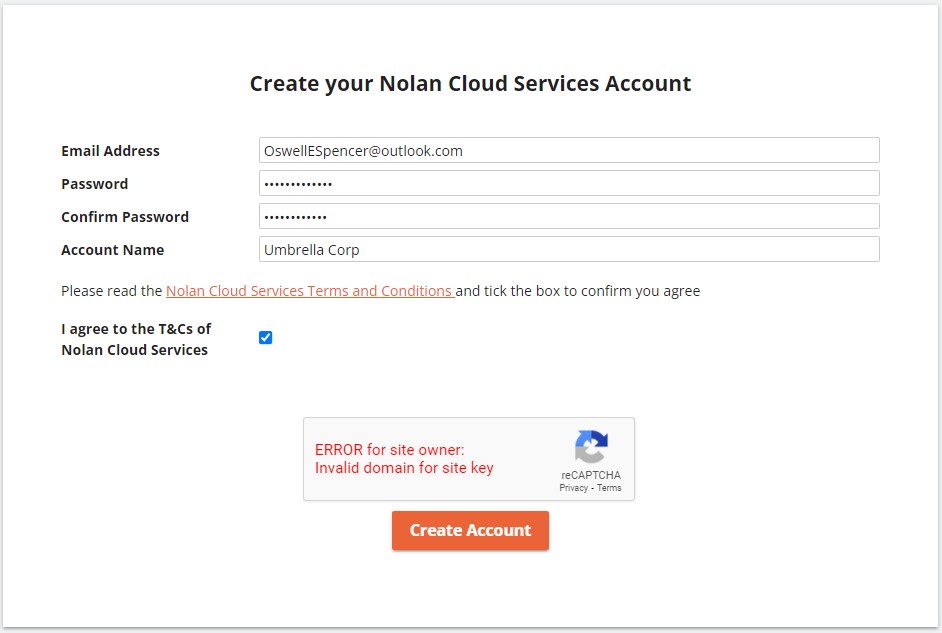
It is IMPERATIVE that the CUSTOMER ticks the Terms and Conditions tick box. This MUST NOT be done by a consultant or third party.
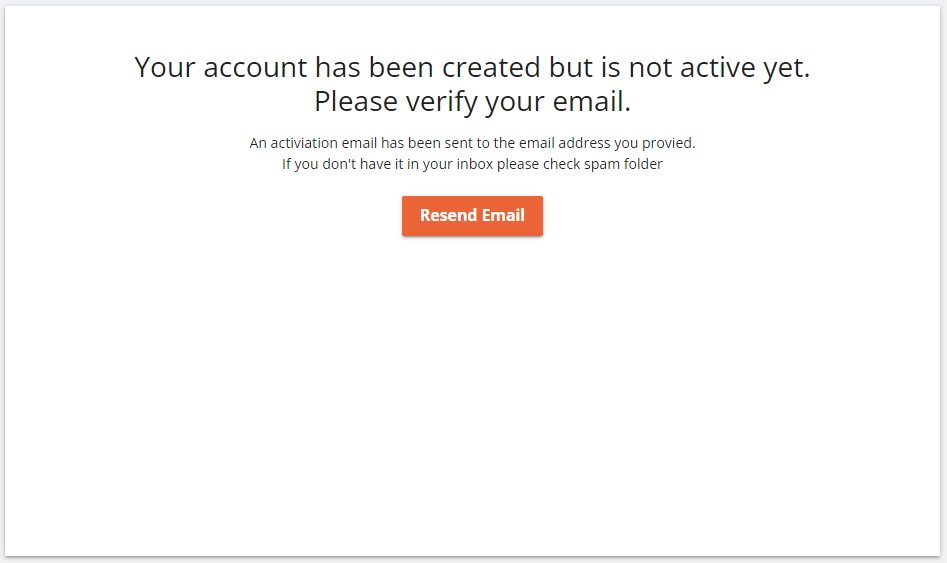
You will then be faced with a screen stating that a verification email has been sent to the email address you entered during the account creation.
Please see an example of the verification email below.
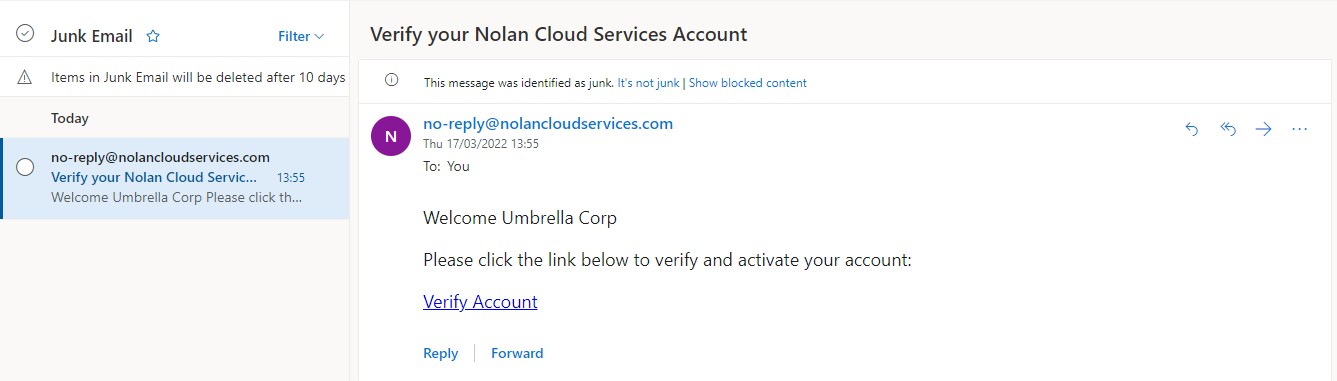
Once you have located this email (bear in mind it may have been sent to your junk folder) select the Verify Account link in the email and you will be taken to a page presenting you with a checklist for linking your Dynamics 365 Business Central and Nolan Cloud Services accounts.
Your registration is now complete, and your Nolan Cloud Services account is active.
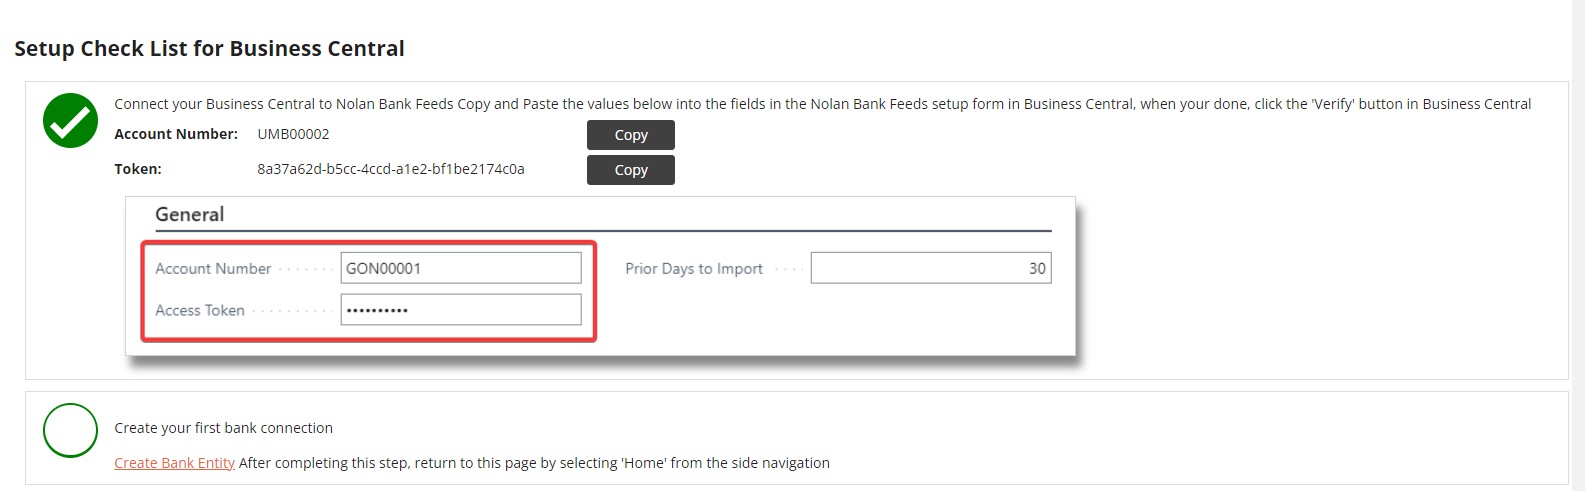
Connecting Business Central to Nolan Cloud Services

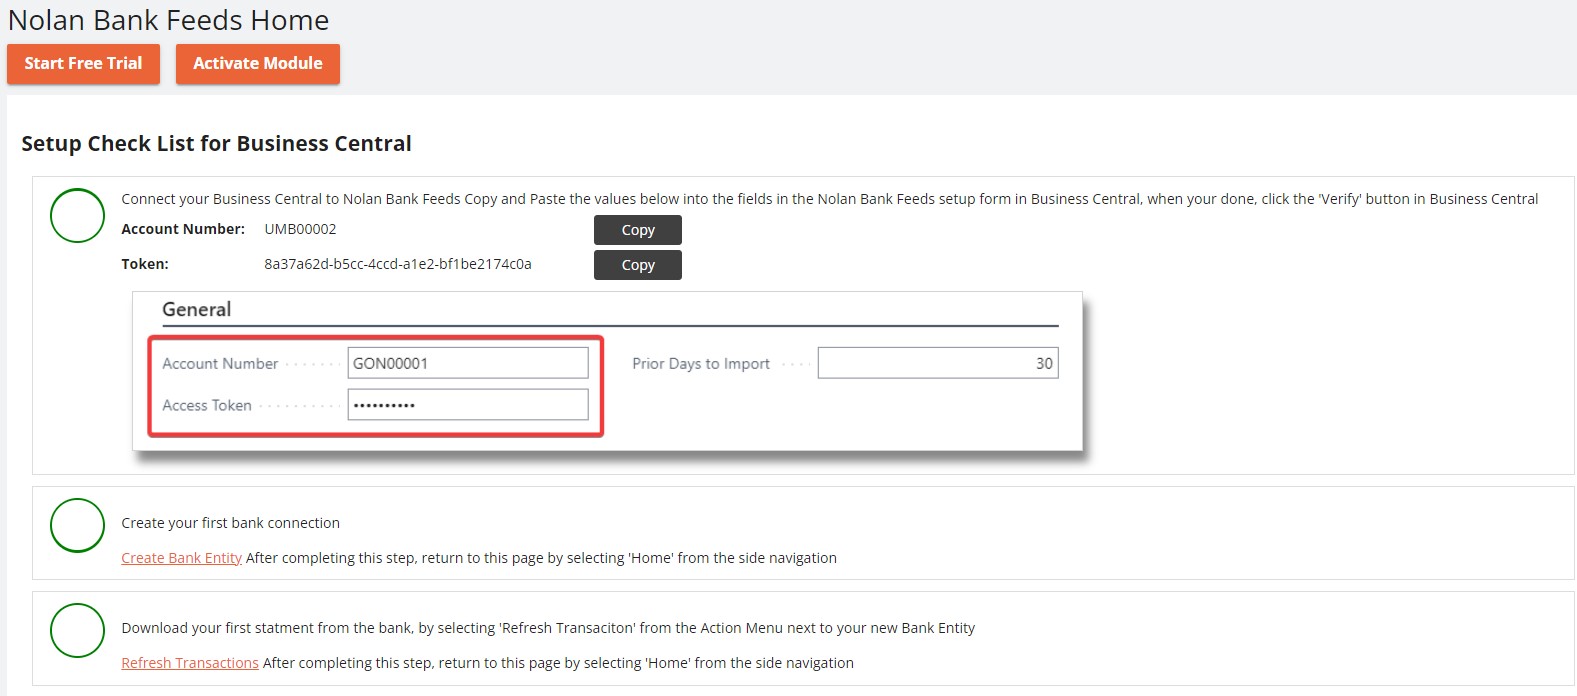
Use the Copy feature above to copy your Account Number and Access Token and input them into the relevant fields back in the Nolan Bank Feeds Setup window in Dynamics 365 Business Central as seen below.
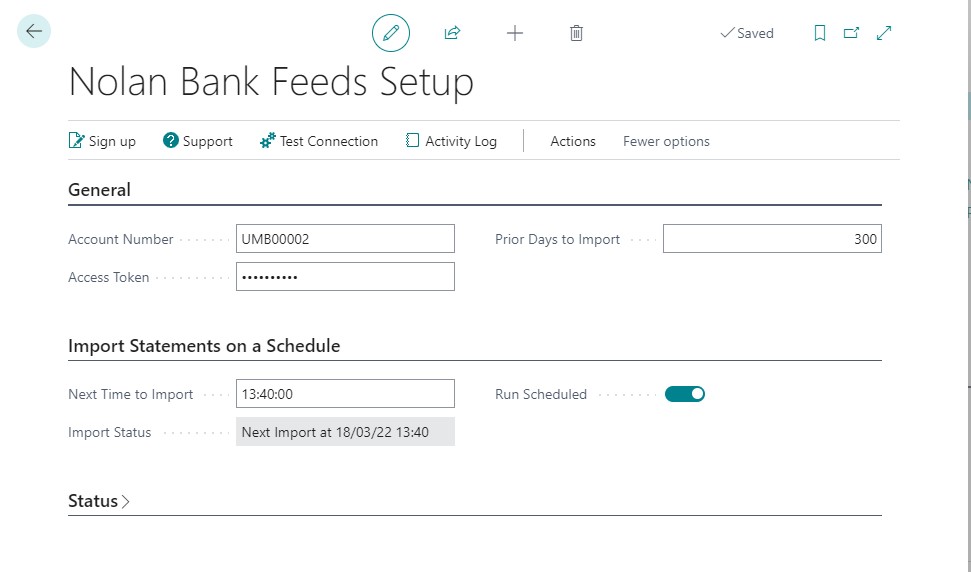
Once you have done this, you can test Dynamics 365 Business Central’s connection to Nolan Cloud Services using the Test Connection option as seen below.
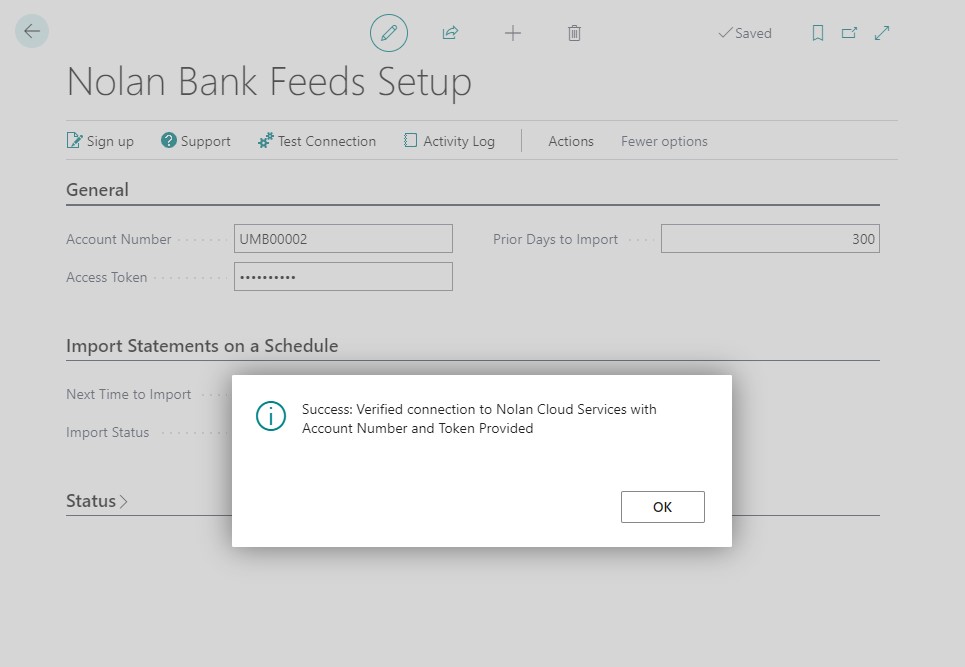
Your Dynamics 365 Business Central and Nolan Cloud Services accounts are now linked.
Creating a New Bank Entity in Nolan Cloud Services
Before Bank Feeds can be used, it needs to be connected to a Bank Entity (the bank you wish to use) within Nolan Cloud Services.
From the Setup Checklist for Dynamics 365 Business Central page as found in the previous section, click the Create Bank Entity link as seen below.
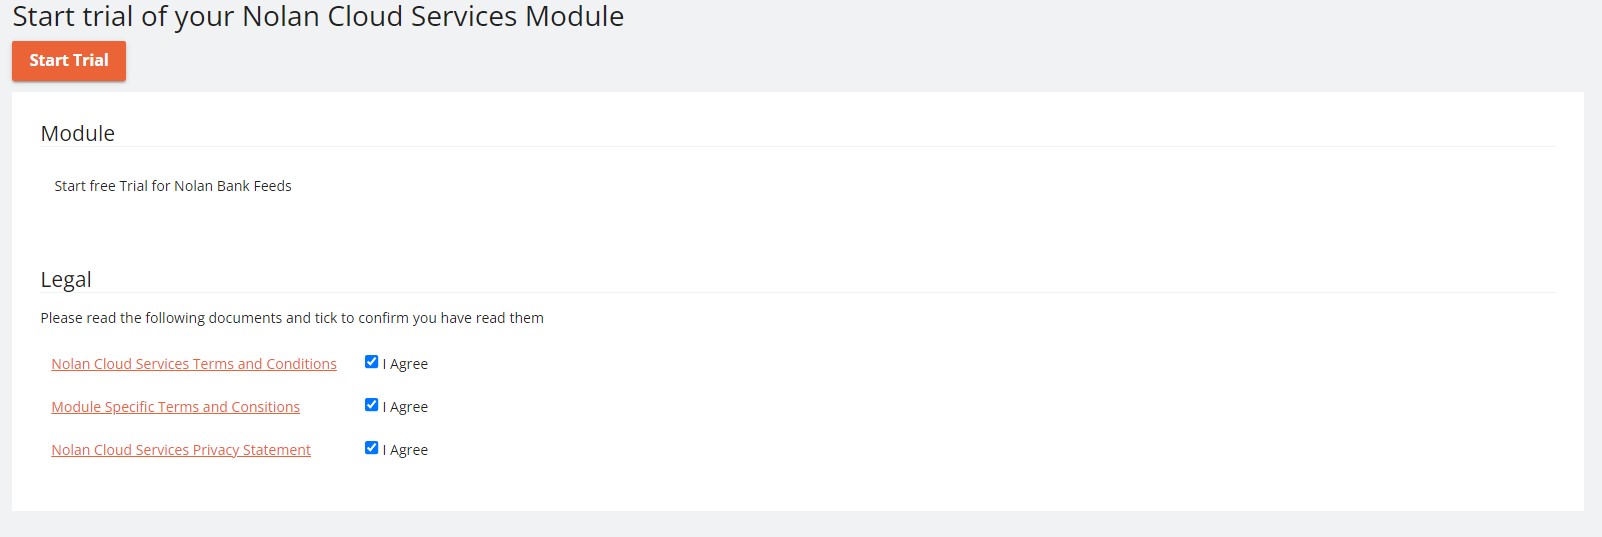
This will bring up the Start trial of your Nolan Cloud Services Module screen where you can read the Nolan Cloud Services legal documents.
Once you have read them, you will need to tick to agree you have done so and then click start trial.
This will bring up a Getting Started screen with some basic information regarding the process of setting up a new Bank Entity and how it works as seen below.
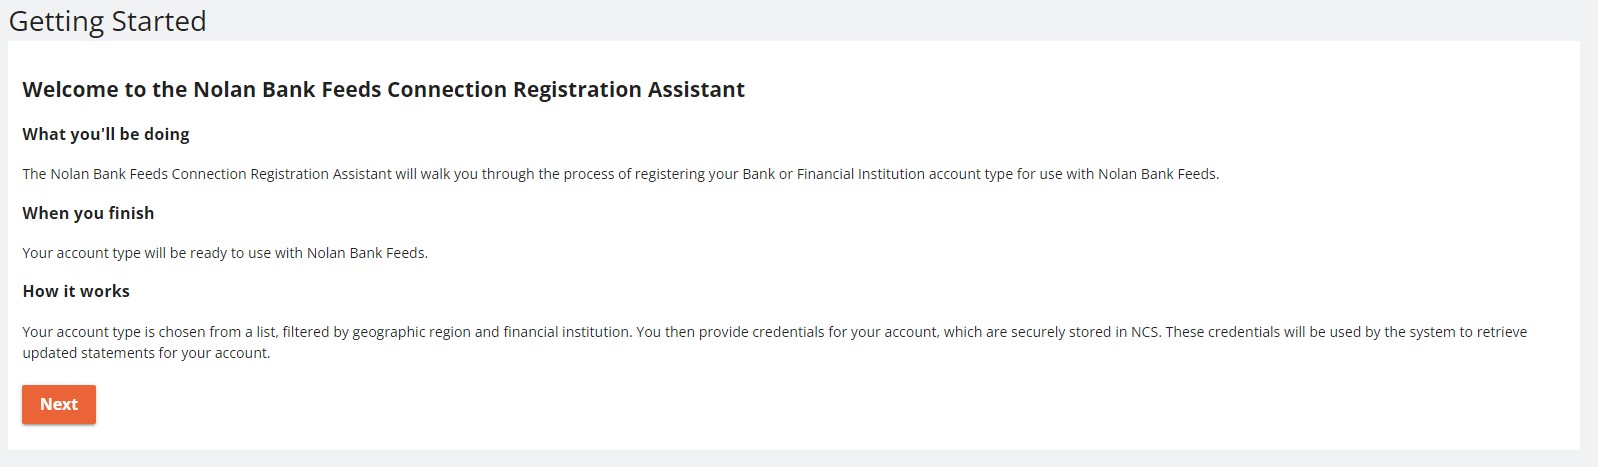
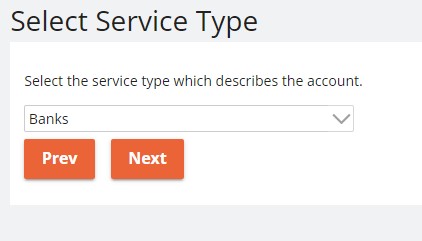
Clicking Next will bring you to the following screen where you will need to select which type of account you want to create.
As we are setting up a new Bank Entity, select Banks from the drop-down list and click Next.
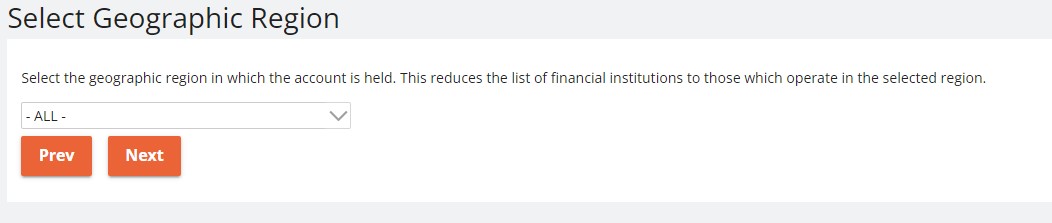
The next screen asks for your geographic region, select the option which applies to you and click Next.
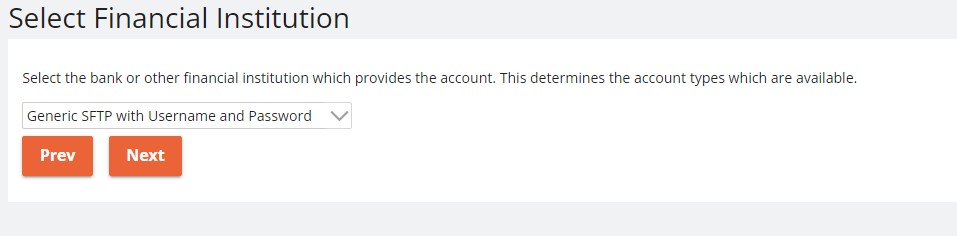
The following screen requires you to select the Financial Institution of which you would like to create a new Entity. Once your institution is selected, click Next.
Now that you have selected the Financial Institution, you will be asked to choose an Account Type. Once you have chosen the relevant option, click Next.
This will bring you to the Credentials screen where you will need to input the required information into the required fields. Once you have done this and clicked Register, your new Bank Entity will be registered within Nolan Cloud Services.
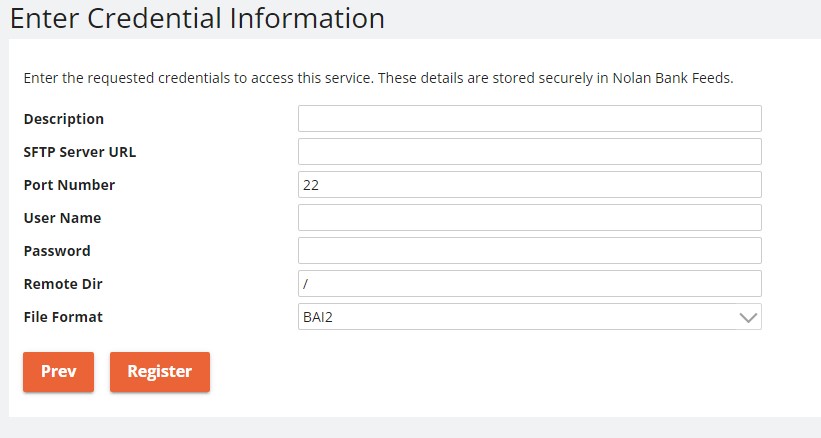
You should now have a screen like the one below, showing a new Entity registered within Nolan Cloud Services.

This concludes this section.
Downloading your first Statement from the Bank
Now that your Entity is set up, you will want to try downloading your first statement. From within the Bank Entities screen, select the Refresh Transactions option as seen below.

Once the access has been verified, indicated by the Access Status seen above, click on the name of your Entity. This will bring up the following screen which gives a more detailed description of your Bank Entity such as the Accounts against it.
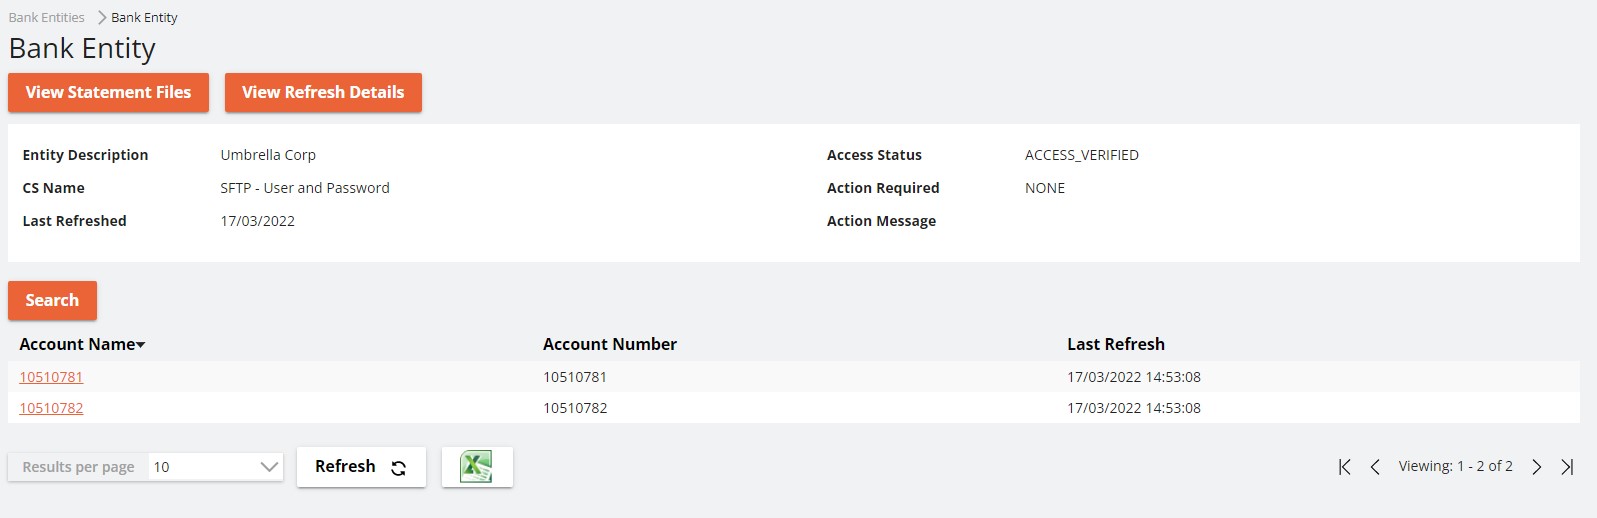
Now, select the Account from which you want to download your Statement.
This will bring up the Statement Transaction screen which shows all the Statements against the Account which have been successfully downloaded.
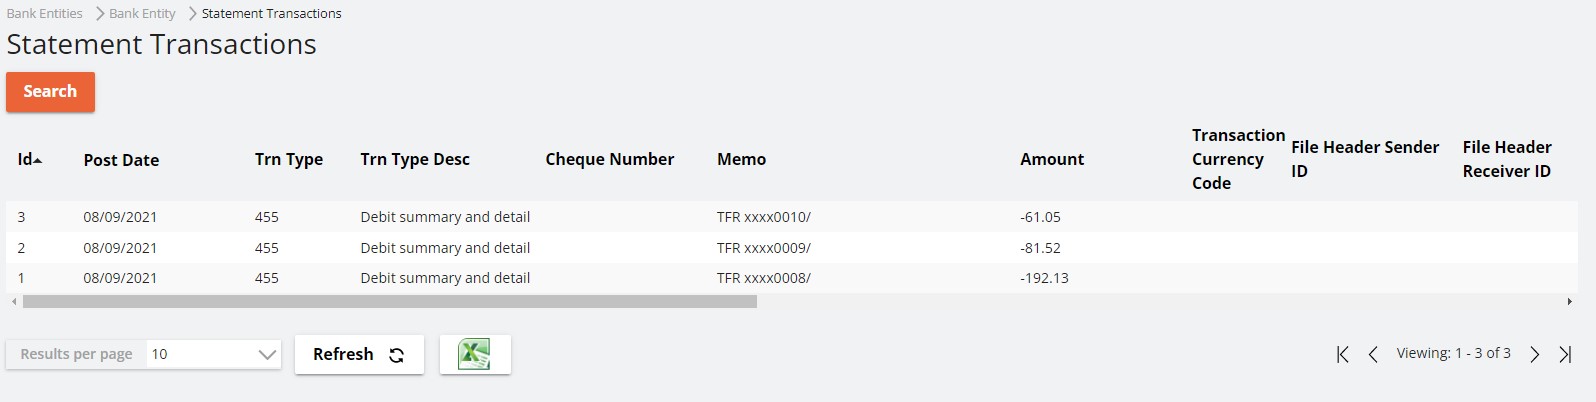
You have now successfully downloaded your statements into Nolan Cloud Services from the Bank.
This concludes the section Downloading your first Statement from the Bank.
Linking the Dynamics 365 Business Central Bank to the Nolan Cloud Services Bank
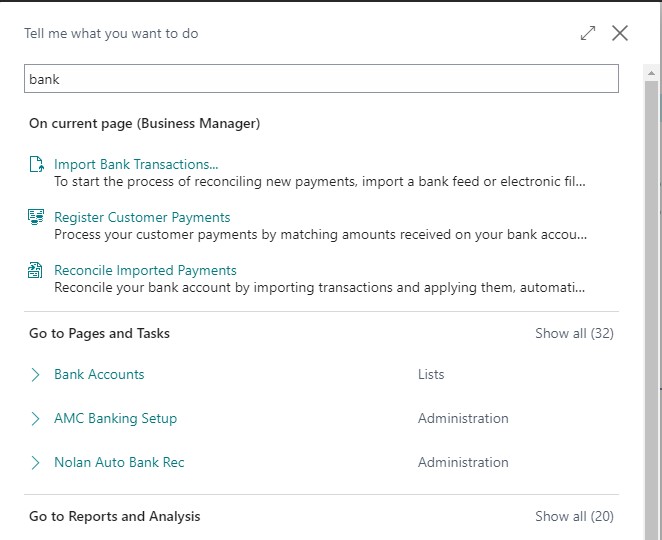
To link your Dynamics 365 Business Central and Nolan Cloud Services banks, use the Search function in Dynamics 365 Business Central to search for Bank. Then select, Bank Accounts.
This will bring up a list of all the Bank Entities listed within Dynamics 365 Business Central. Select the Entity you created earlier.
Next, click search and type bank into the search box as seen below.
*INSERT INSTRUCTIONS HERE*
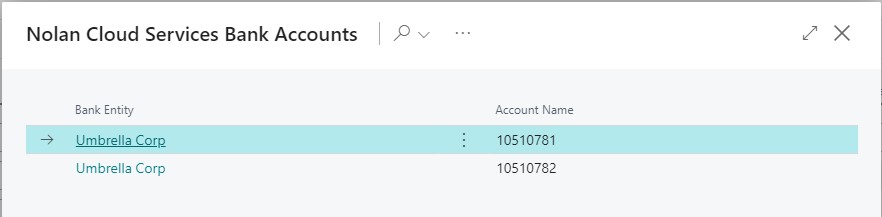
Select the relevant Entity and click OK.
Your Dynamics 365 Business Central Bank and Nolan Cloud Services Bank should now be successfully linked.
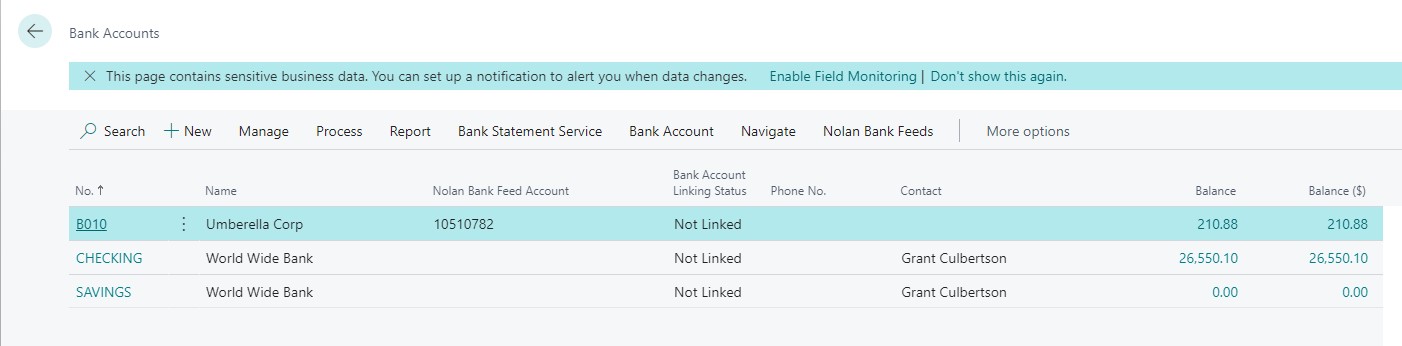
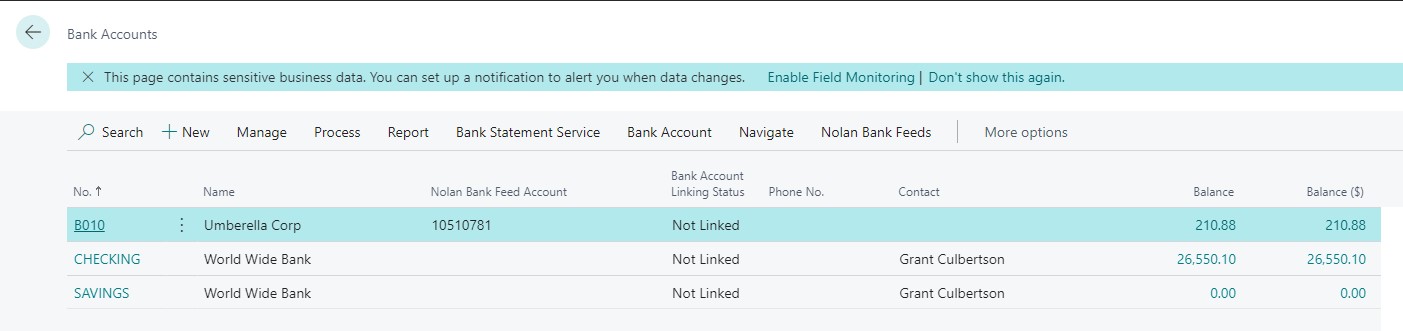
You can check, however, by going back to the Bank Accounts screen in Dynamics 365 Business Central and checking the Linking Status as seen below.
This concludes the section Linking the Dynamics 365 Business Central Bank to the Nolan Cloud Services Bank.
Downloading your bank statements into Dynamics 365 Business Central
This is the final stage of the Nolan Bank Feeds setup process, where you will be downloading Bank Statements from Nolan Bank Feeds into Dynamics 365 Business Central.
From the Bank Accounts screen in Dynamics 365 Business Central, select Nolan Bank Feeds and Import Transactions as seen below.

You will then be presented with a pop-up stating that the Transactions have been successfully Imported, such as the one below.

This will now have Imported all Transactions across all the listed Bank Accounts from Nolan Bank Feeds into Dynamics 365 Business Central.
This completes the set-up process for Nolan Bank Feeds within your Dynamics 365 Business Central Account.
