Summary
You can access the user defined field setup windows from the following forms:
Sales Transaction Entry
Debtor Maintenance
Chequebook Maintenance
When you have these forms selected an ‘Extras’ menu option will appear along the top with the other menu
options. If you select this menu option you will be able to choose ‘User Defined Fields’ and this will open the
corresponding User
Window Layout
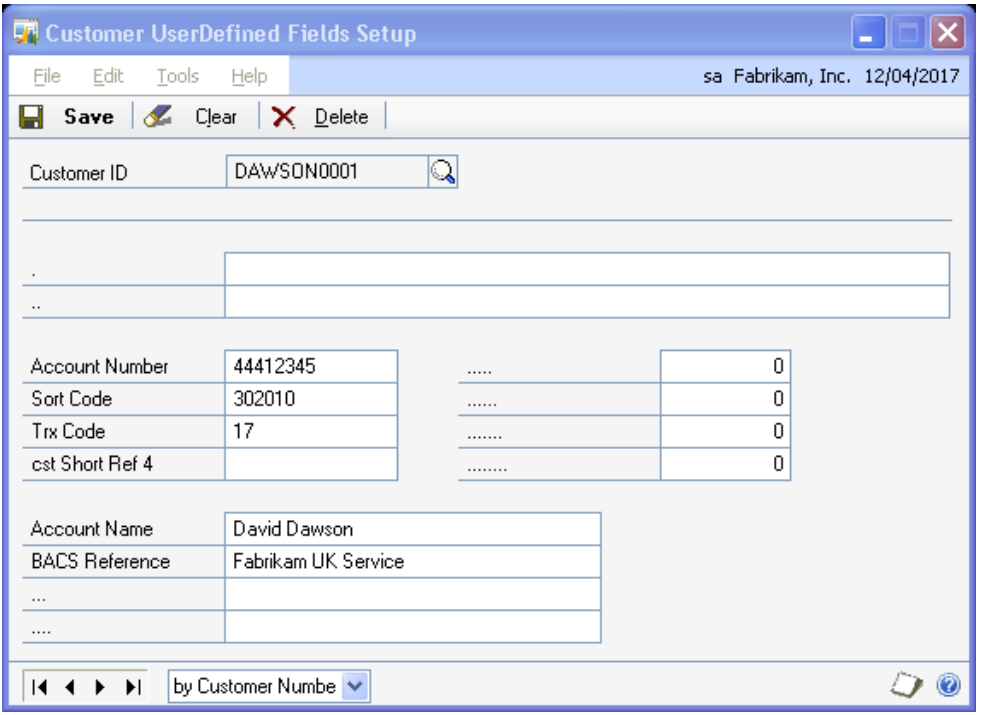
Customer
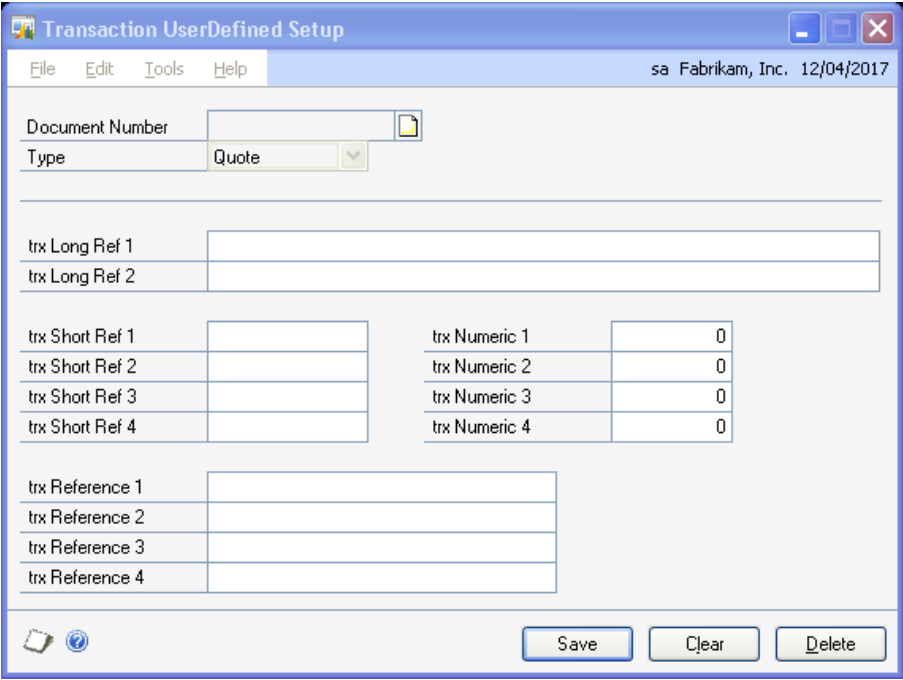
Transaction
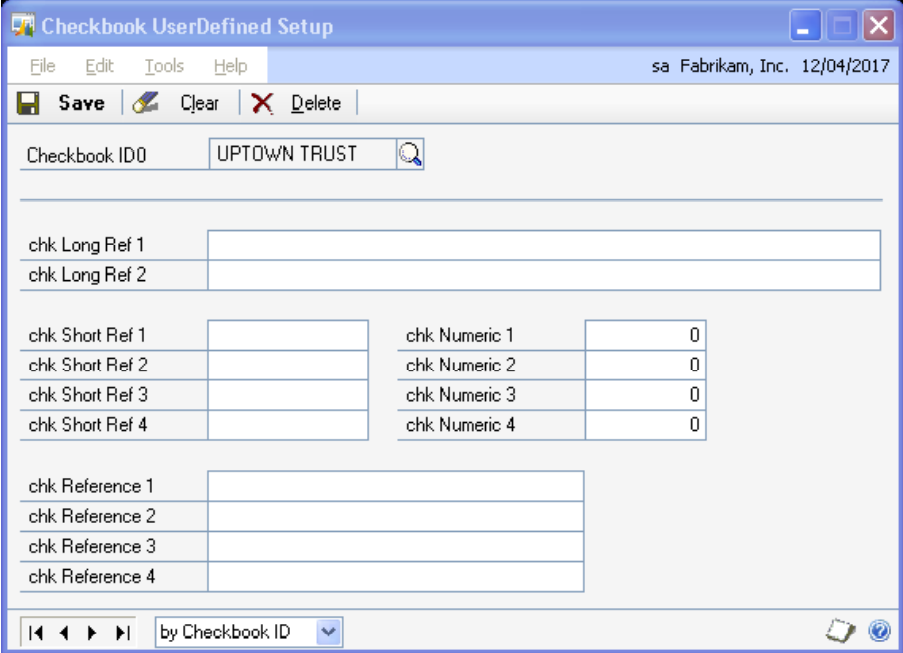
Chequebook
Processing
This windows are fairly basic in there operation. The Chequebook ID that you want should already be selected because you the information was passed from the main screen when you selected this option from the extras menu. Once you have typed in the information you wish to have in the user defined fields then you can save the record and return to the main screen from which you came. The clear and delete buttons work as per standard Microsoft Dynamics GP. I.e. the clear button clears the screen and the delete button deletes the record.
On the chequebook and customer user defined windows you can also select another record by using the
lookup to find the appropriate record.
