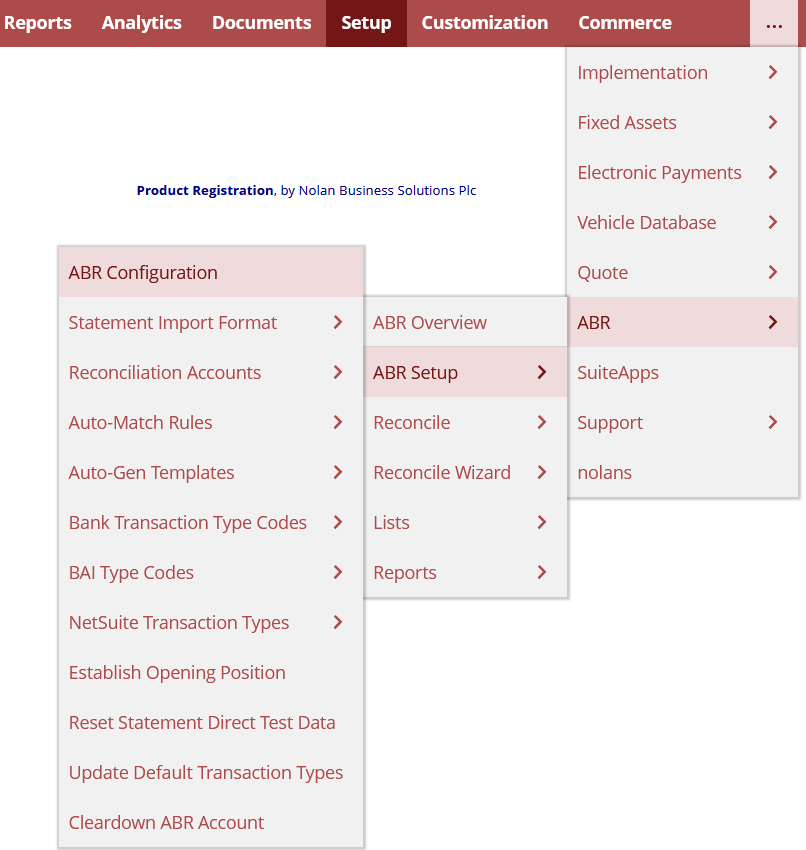
To configure ABR, firstly go to More Options -> ABR -> ABR Setup -> ABR Configuration.
This will bring you to the ABR Configuration page.

From here we recommend Unticking the Partial Allocation box. Leaving it Ticked will allow you to Reconcile a Statement even with Outstanding Transactions. Leaving this box ticked also allows you to Reconcile with a difference between the General Ledger and Bank Closing Balance other than zero.
Once you have done this, do the same with the Allow Forced Unmatching box. This when left ticked, allows for the Unmatching of Imbalanced Match IDs.
Now Tick the Use File Cabinet Folder box. This will store copies of Imported Bank Statements in a unique folder, making them easier to find.
Once you have ticked the User File Cabinet Folder box, in the space below, Input the Internal ID of the NetSuite File Cabinet Folder you wish to use.
Now you will want to Input some values into the Number of Rows in Period Statement List box. This will list the chosen number of Reconcile Statements on your Period Reconciliation Report. The Maximum value for this box is 400, however, we recommend no more than 48 due to the possibility of too large a value causing an Error within NetSuite.
You will now want to Tick the Use NetSuite Journal Entry Form box. This allows you to use Custom Forms and enter Custom Fields and Segment Values when using the Create GL Transactions option on your Reconcile Statement.
Next, Tick the Use Advanced Auto-Match box. This allows you to process Multiple Auto-Match Rules. This also allows you to Group Transactions for Matching Rules. (Setting up your Auto-Matching Rules will be discussed further on in this document).
Next, you will want to Input a value in the Maximum Number of Rows in Reconcile Screen box. This sets the limit on the number of Records visible at once.
Now Untick the Disable Default Auto-Match Rule box. When Ticked this only allows Transactions assigned Transaction Types with Rules to Auto-Match.
Next, it is recommended you Tick the Don’t Auto-Match Voids or Reversals to Previously Matched Items box. Keeping this box Ticked will not Unmatch any Original Transaction if it was previously Matched to another Transaction.
Now, you may choose whether you want to Tick or Untick the Never Auto-Match Voids or Reversals box. Ticking this box will prevent the Extract Process to Automatically Match a Reversal or Void Transaction against the Offsetting Transaction.
Having this box Unticked will mean you must Manually check the Debit and Credit Transactions during Reconciliation.
From here you can choose whether to Tick or Untick the Use Account Name First on Import Bank Statements box. Ticking this option will display a list of Accounts by Account Name for Statement Import.
If Unticked the list will be sorted by the Account Number and Account Name instead.
We then Recommend you Tick the Auto Gen: Auto-Match Unapproved Journals box. This will Auto-Match Unapproved journal entries created via the Auto-Gen process.
For the Force Wordwrap at N Characters box, we Recommend a value of between 15-20. This limits the width of the column on the ABR Reconcile Statement Screen.
Next, decide whether you want to Tick or Untick the Hide Summary Field on Journal box. Ticking this box (if the Use NetSuite Journal Entry Form box is Ticked) will Hide the ABR Summary Field when creating a journal from the reconciliation screen.
We also Recommend you Tick the Use Map/Reduce Scripts box. This is Required to use Advanced Auto-Match and Auto-Match Voids/Reversals.
Finally, decide whether you wish to Tick or Untick the Use Multiple Script Queues box.
All companies that run NetSuite are provided with a single Queue for running Scheduled Scripts. This option allows you to run Multiple Script Queues at once. However, you will need to Purchase additional Script Queues with a SuiteCloud Plus License first.
If you Already have a SuiteCloud Plus License, you will need to enter the Queue Number you wish to use in the Start and End Script Queue Number boxes.
If you have More than 5 queues, you must Manually create Additional Script Deployments, as the first 5 are done Automatically.
Now Click SAVE.
Your ABR is now Configured. You may come back and Change these settings at any time.
