The Statement Import Format defines how you receive the data sent via your bank after Importing a Statement.
This section will show you how to create an Import File containing the information you will want to know.
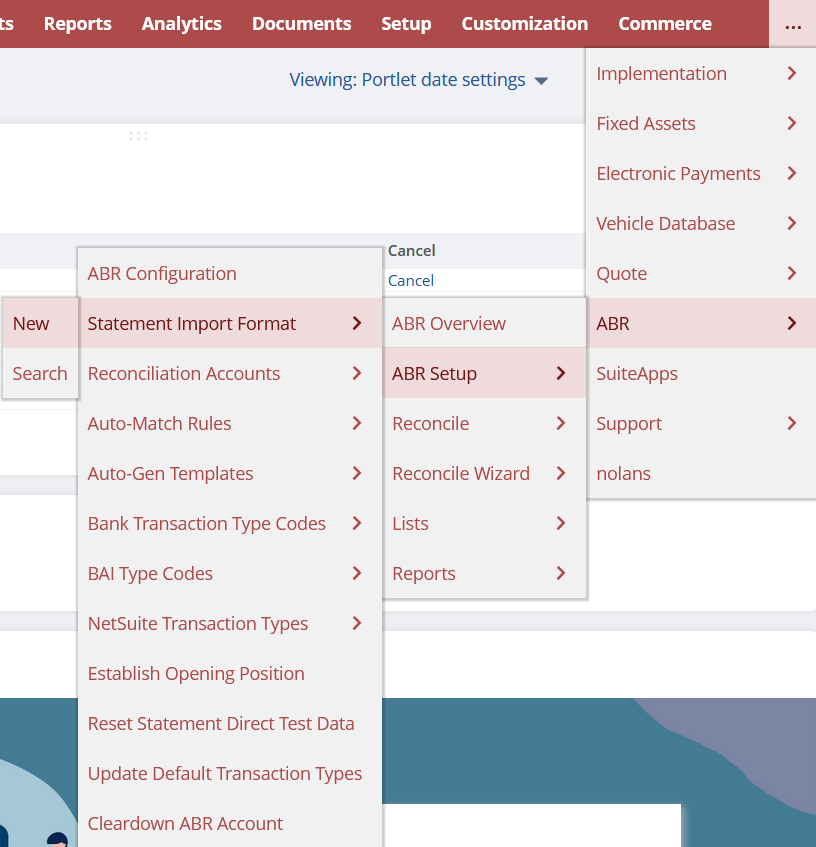
First, go to ABR -> ABR Setup -> Statement Import Format -> New.
You will now be faced with the ABR Statement Import Format screen, where you can create a new Import Format.
First, you will want to give the Format a Name and Description. The name of the Bank you wish to use is a good option as it makes referencing much easier.

Your File Format will need to be the Same as your Data Upload. This is usually Comma Separated.
If you are using a BAI Format, and your Transaction Lines contain the value V, make sure to Tick the Header Date as Bankline Date as seen below as this will make sure the Transaction Date is used.
For the Auto-Import Mapping Details, either consult your Bank Feeds Manual or speak to a Nolan representative.
Your Bank File may sometimes include Header and Footer lines, to avoid these being taken into account by the Transaction Data, set the Row Number accordingly, as seen below.

Now click Save.
Once you have Saved your new Import File Format, you will notice a new Tab called Line Detail has appeared. Use this to Set Parameters to map the data on your files to the correct fields in ABR.
Select New ABR Format Definition Line.
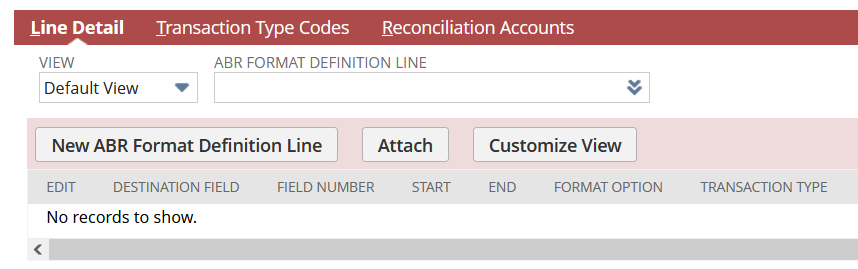
Now select your relevant Destination Field Options. You can find the individual definitions below.
Account Number – Bank account number is required if there are multiple accounts in one bank file import.
Amount – Use if all amounts are shown in one column. If all the amounts are positive, use the Transaction Types tab to define the Debits and Credits.
Bank Code – This is the Bank Routing Number, this is usually not required.
Check Number – Transaction ID is used for matching the Bank Value against the Transaction Document/Check Number Field.
Credit Amount – Use this if the bank uses a Separate Column for Credit Amounts.
D/C Indicator – Use this if the bank uses a column with a D or C value to indicate Debit or Credit. This is not usually required.
Debit Amount – Use this if the bank uses a Separate Column for Debit Amounts.
Record Code (BAI) – This is Only Required for BAI file types.
Reference – This is usually mapped to a Bank Description which is then matched against a NetSuite Memo. It can also be used to Review Bank Transactions. You can use the Start and End fields to indicate which Characters you want Imported into these fields. If you require All the information from these fields, leave both Values as 0. The Maximum number of Characters is 300.
Transaction Date – Use this for the Date of the Bank Transaction. You Must, however, also define the Format Option. For example, the 18/03/2022 format would be dd/mm/yyyy. Do not use Upper Case.
Transaction Type – This is Required for using Auto-Match. It can also be used for Auto-Gen. You can use Transaction Type to define Debits/Credits and for Filtering Bank Data.
Once you have decided on your new Format, click Save.
Your new Statement Import Format is now ready to use.
