This section will help you with Importing outstanding items.
First, you will need to create a CSV (comma separated spreadsheet) containing the details of Outstanding Cheques and Deposits since your ABR Cutover Date.
Your CSV Spreadsheet will need to contain the following:
Transaction Type – This is optional, the default option is usually Cheque which you may use if all your Outstanding Items are also Cheques.
Other permitted Transaction Types include:
Customer Deposit
Cash Sale
Cash Refund
Deposit
Journal
Payment
Transfer
Vendor Payment
Next include an Amount. Please make sure the Amount sticks to the following rules:
There must be No Commas
Cheques/Withdrawals Must be Negative Amounts
Deposits Must be Positive Amounts
Also, include a Transaction Date. This Must Match the NetSuite date format.
Memo – This is another optional field, here you can input a brief description or name to help identify the transaction.
Finally, is the Transaction ID,
Once you have included these fields in your CSV Spreadsheet, you can try Importing them to NetSuite.
Go to Setup -> Import/Export -> Import CSV Records.
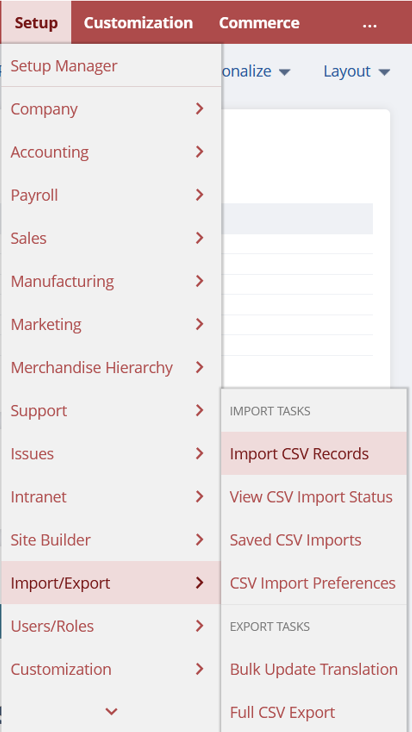
This will bring you to the below screen.
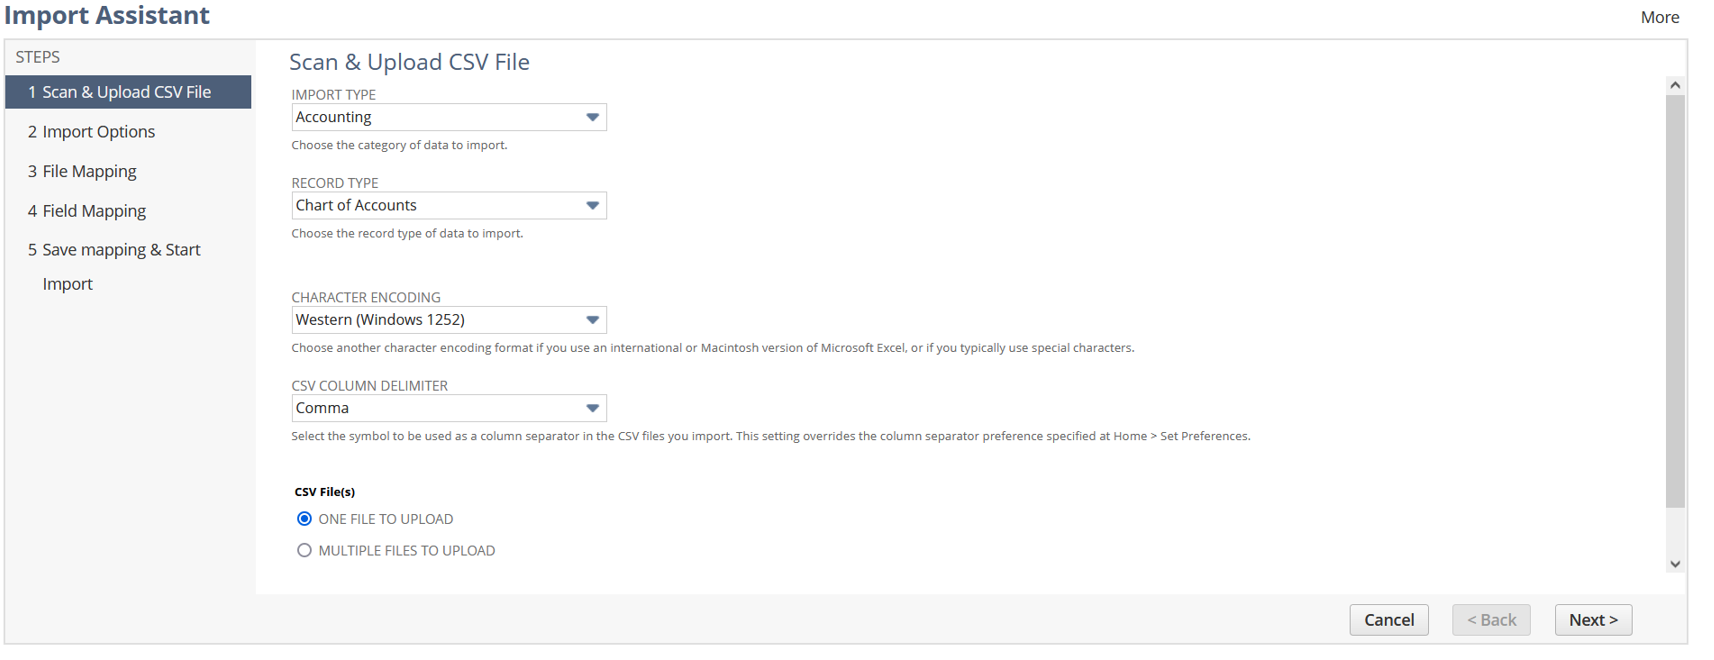
Here you can Upload your CSV File.
Under Import Type select Custom Records.
Now change the Record Type to ABR Reconciliation State.
Next select the CSV File with the Outstanding Transactions. Then click Next.
This will take you to the next section called Import Options. Here select the Add option under Data Handling.
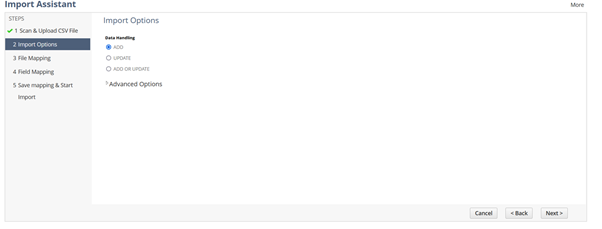
Now select the Drop-Down Arrow beside Advanced Options.
Now change the Custom Form to Standard ABR Reconciliation State Form.
Now click Next.
You will now be brought to the Field Mapping section below.

From here you will need to Link each Field to the Uploaded CSV File.
Amount – Should be linked to the Amount Column
Memo – Should be linked to the Memo Column
Transaction Date – Should be linked to the Transaction Date Column
Transaction ID – Should be linked to the Cheque Number Column
Transaction Type – Should be linked to the Memo Column. If all Outstanding Items are Cheques, select the Pencil Icon and then select Check as the default value.
ABR Status – Click the Pencil Icon and select the Default Status as Unmatched.
Target Account – Select the Pencil Icon and then the Account Name of the General Ledger Account the Transactions are Linked to.
Record Type – Select the Pencil Icon and then the Default Value of Opening Position.
Integrity Status – Select the Pencil Icon and then the Default Value of New.
Line Number – Select the Pencil Icon and enter a Default Value of 0.
Finally, the Reconcile Account – Select the Pencil Icon and the under Default Value select the ABR Reconcile Account.
Now Save and Run the import.
